How to Install Web Access Pro and Login to Your Account

Maribel Gray
Last Update 4 years ago
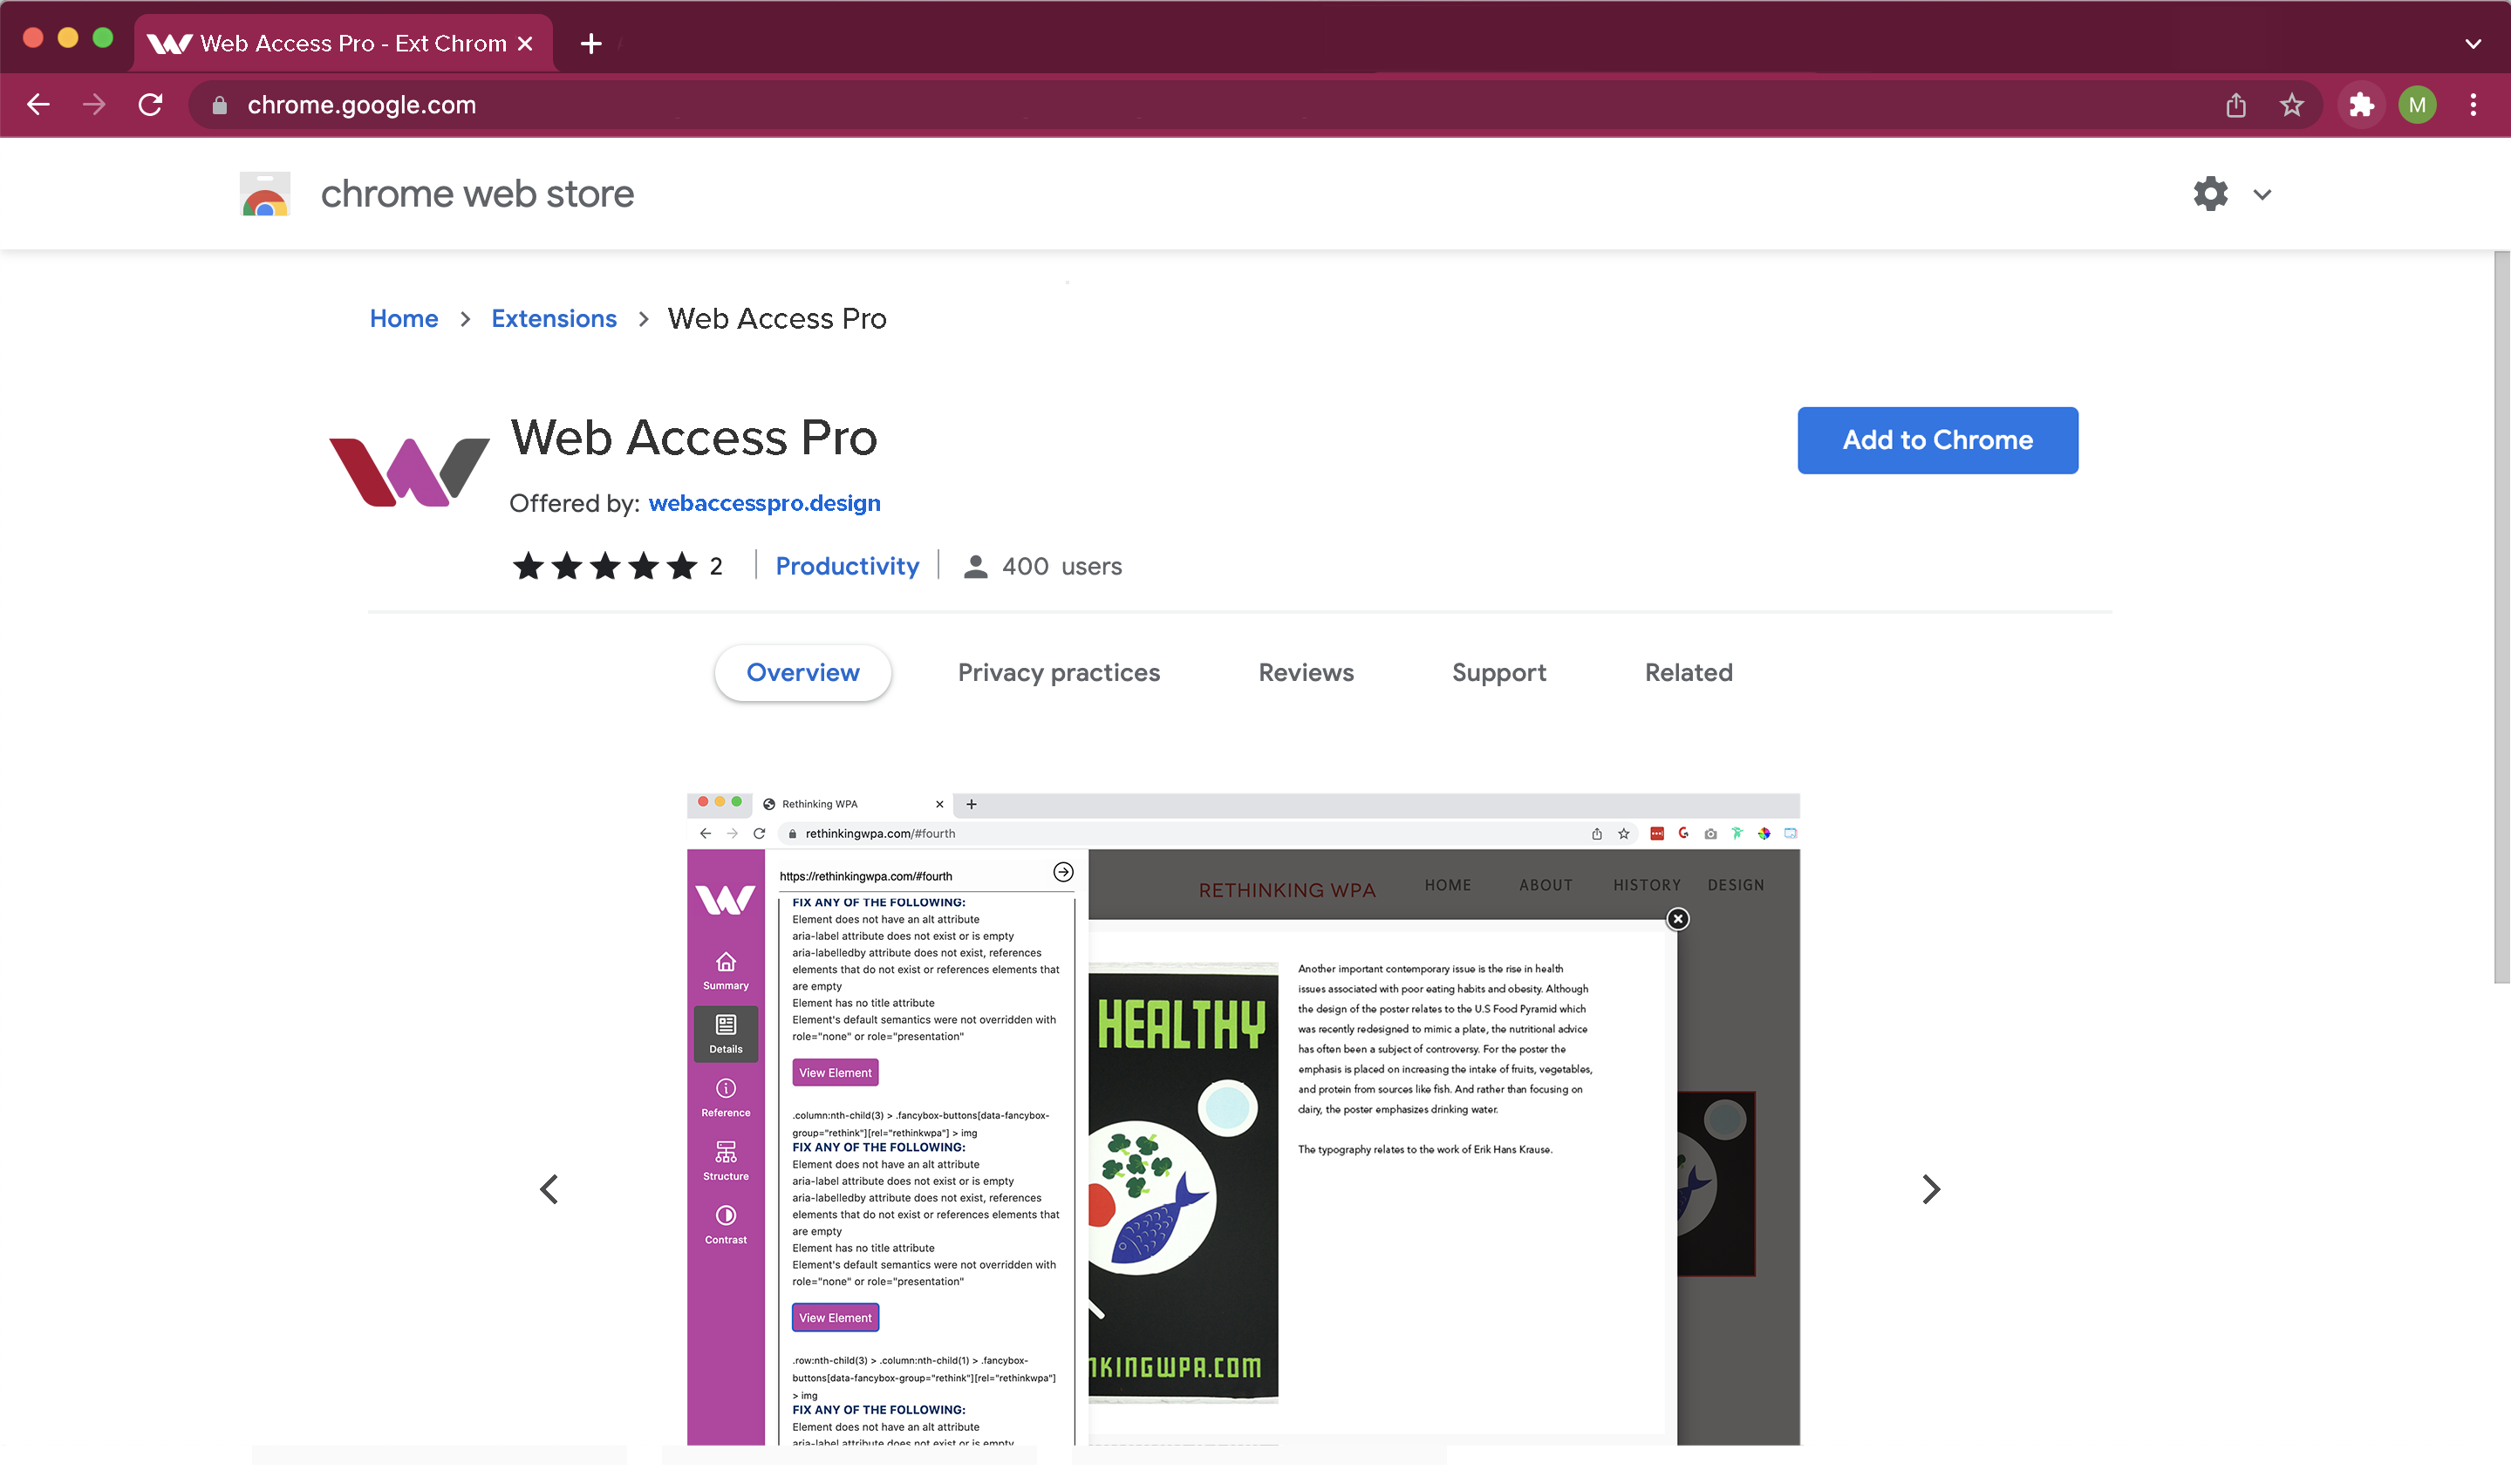
From the Web Access Pro Page in the Chrome Web Store, you want to select "Add to Chrome"
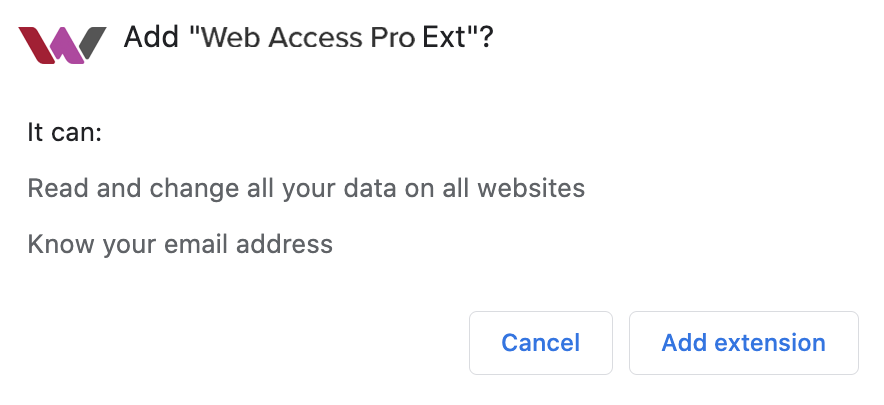
A popup will come up and you will hit "Add Extension" if you are in agreement with the parameters presented to you in the popup.
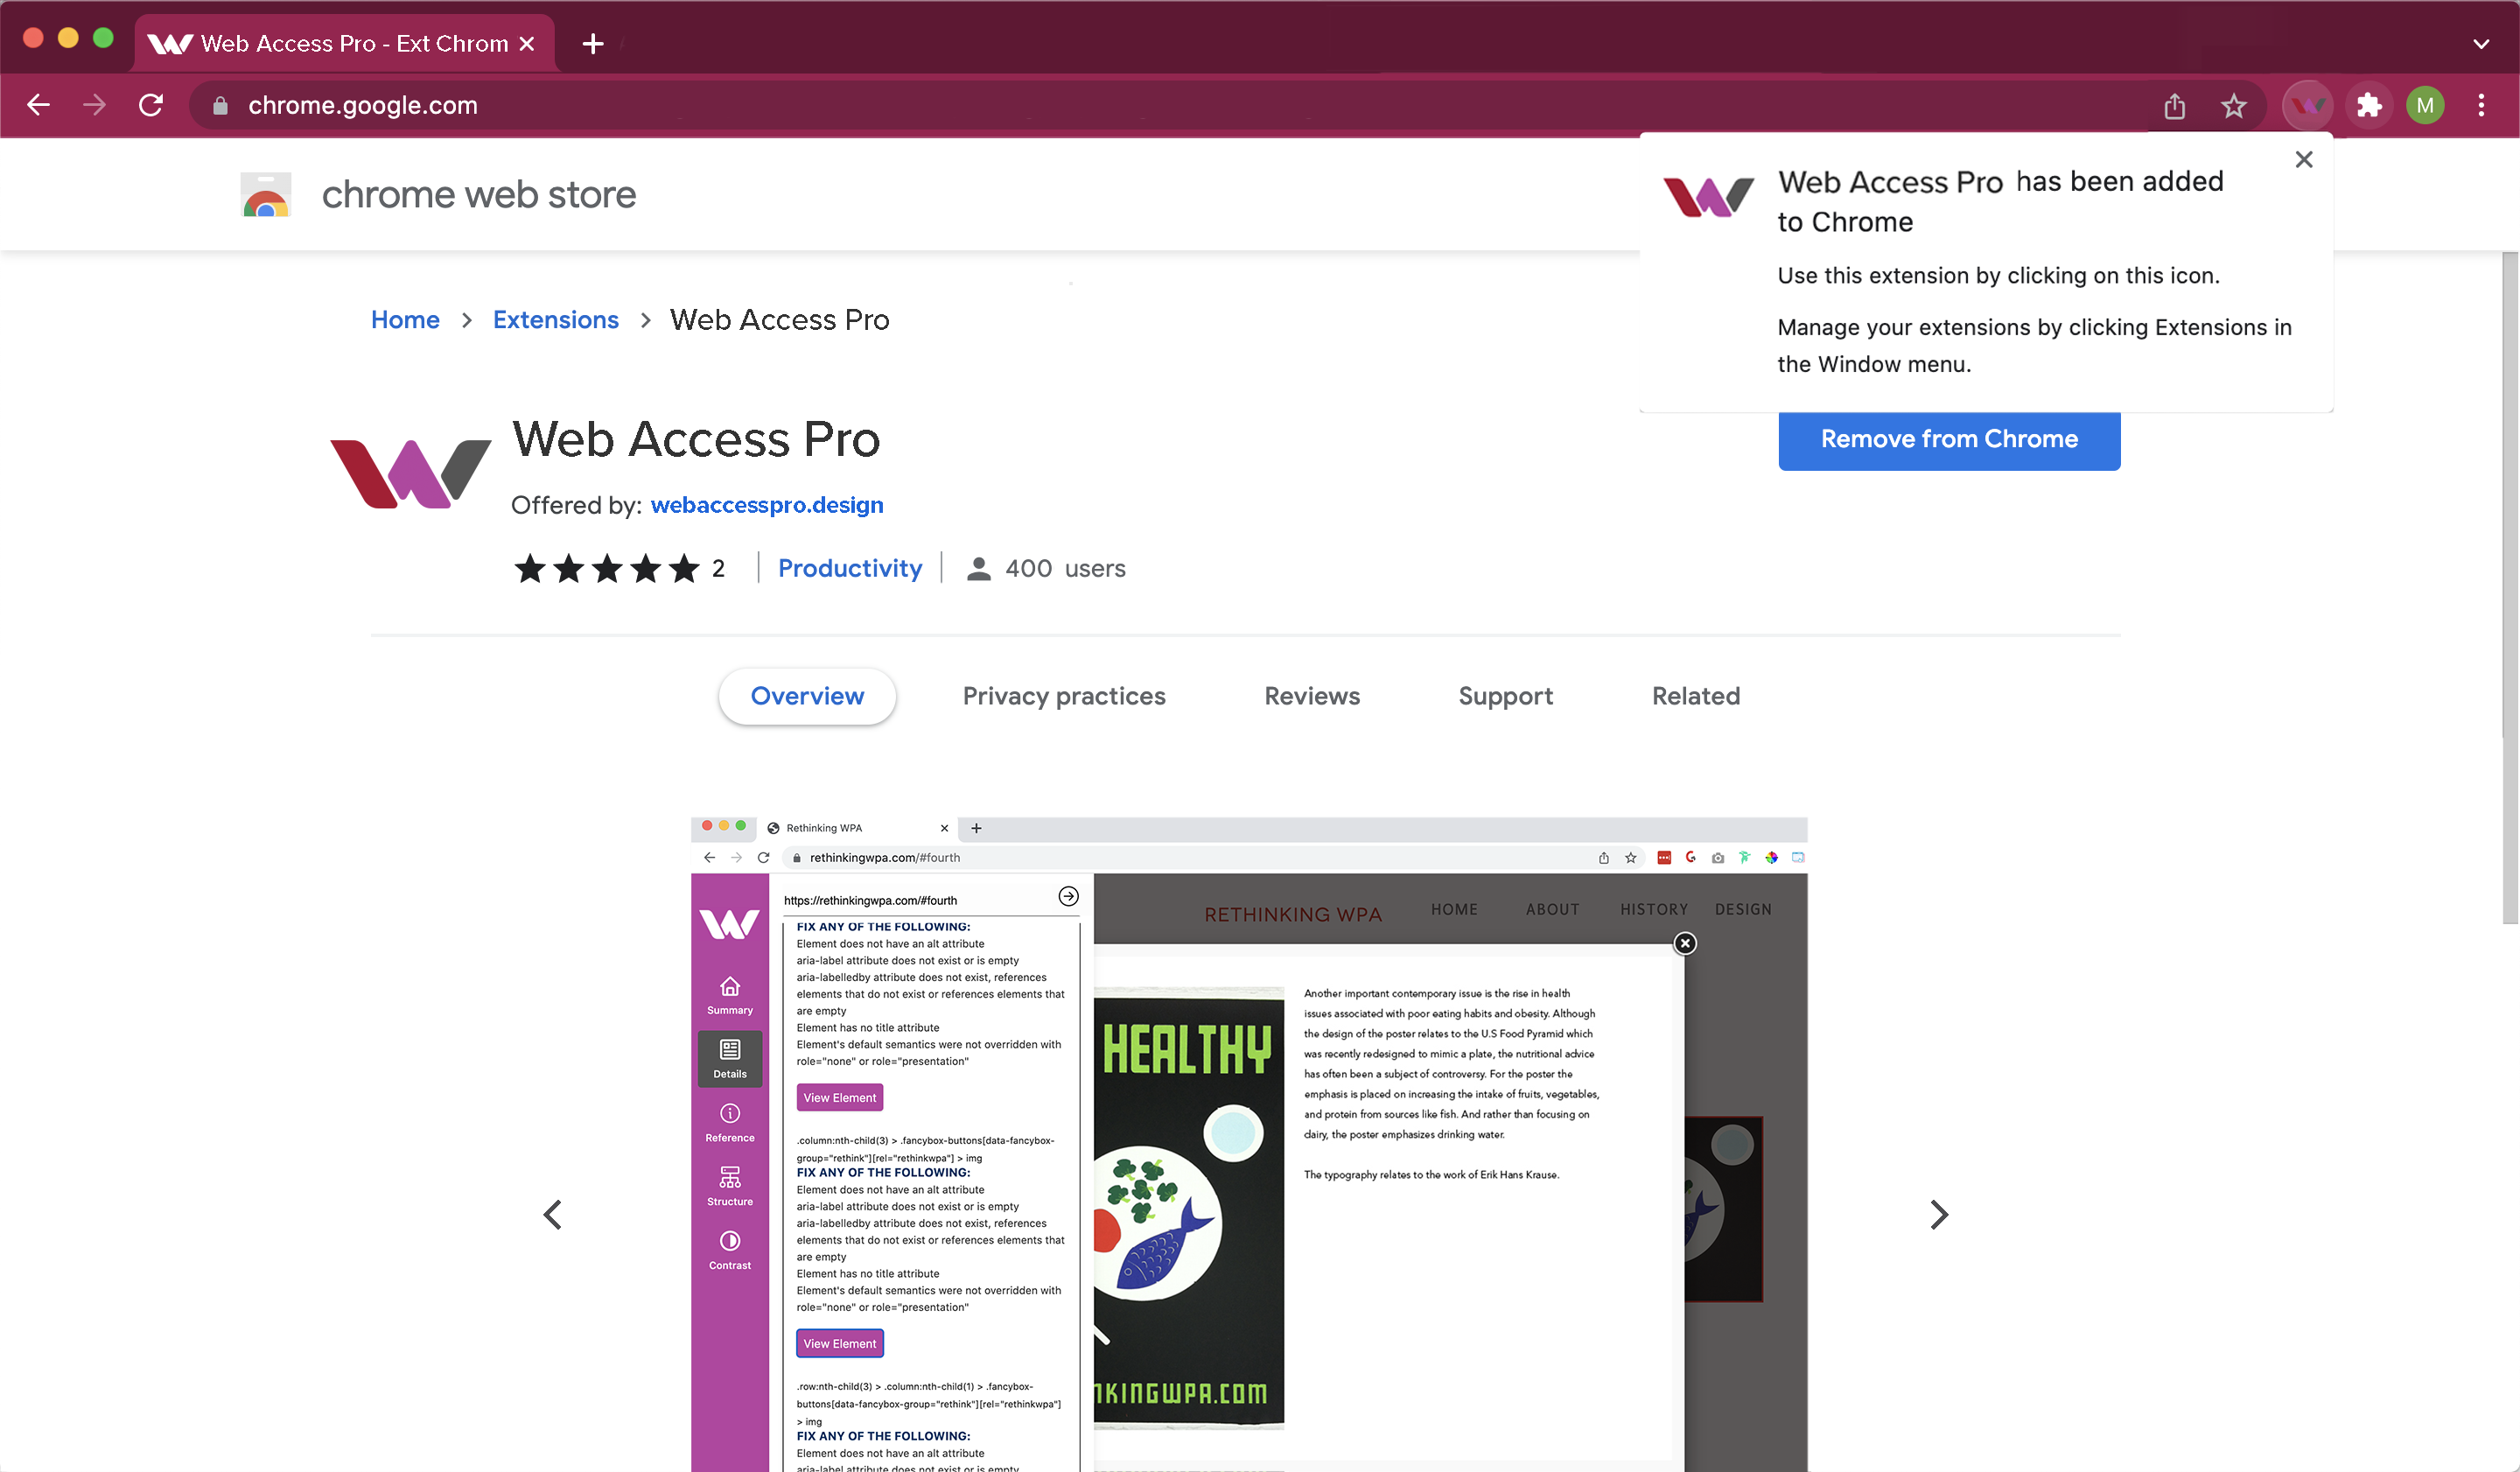
Once the Web Access Pro extension is added, you will get a confirmation message that indicates that the extension has been added. you will have the option to remove the extension by hitting "Remove from Chrome."
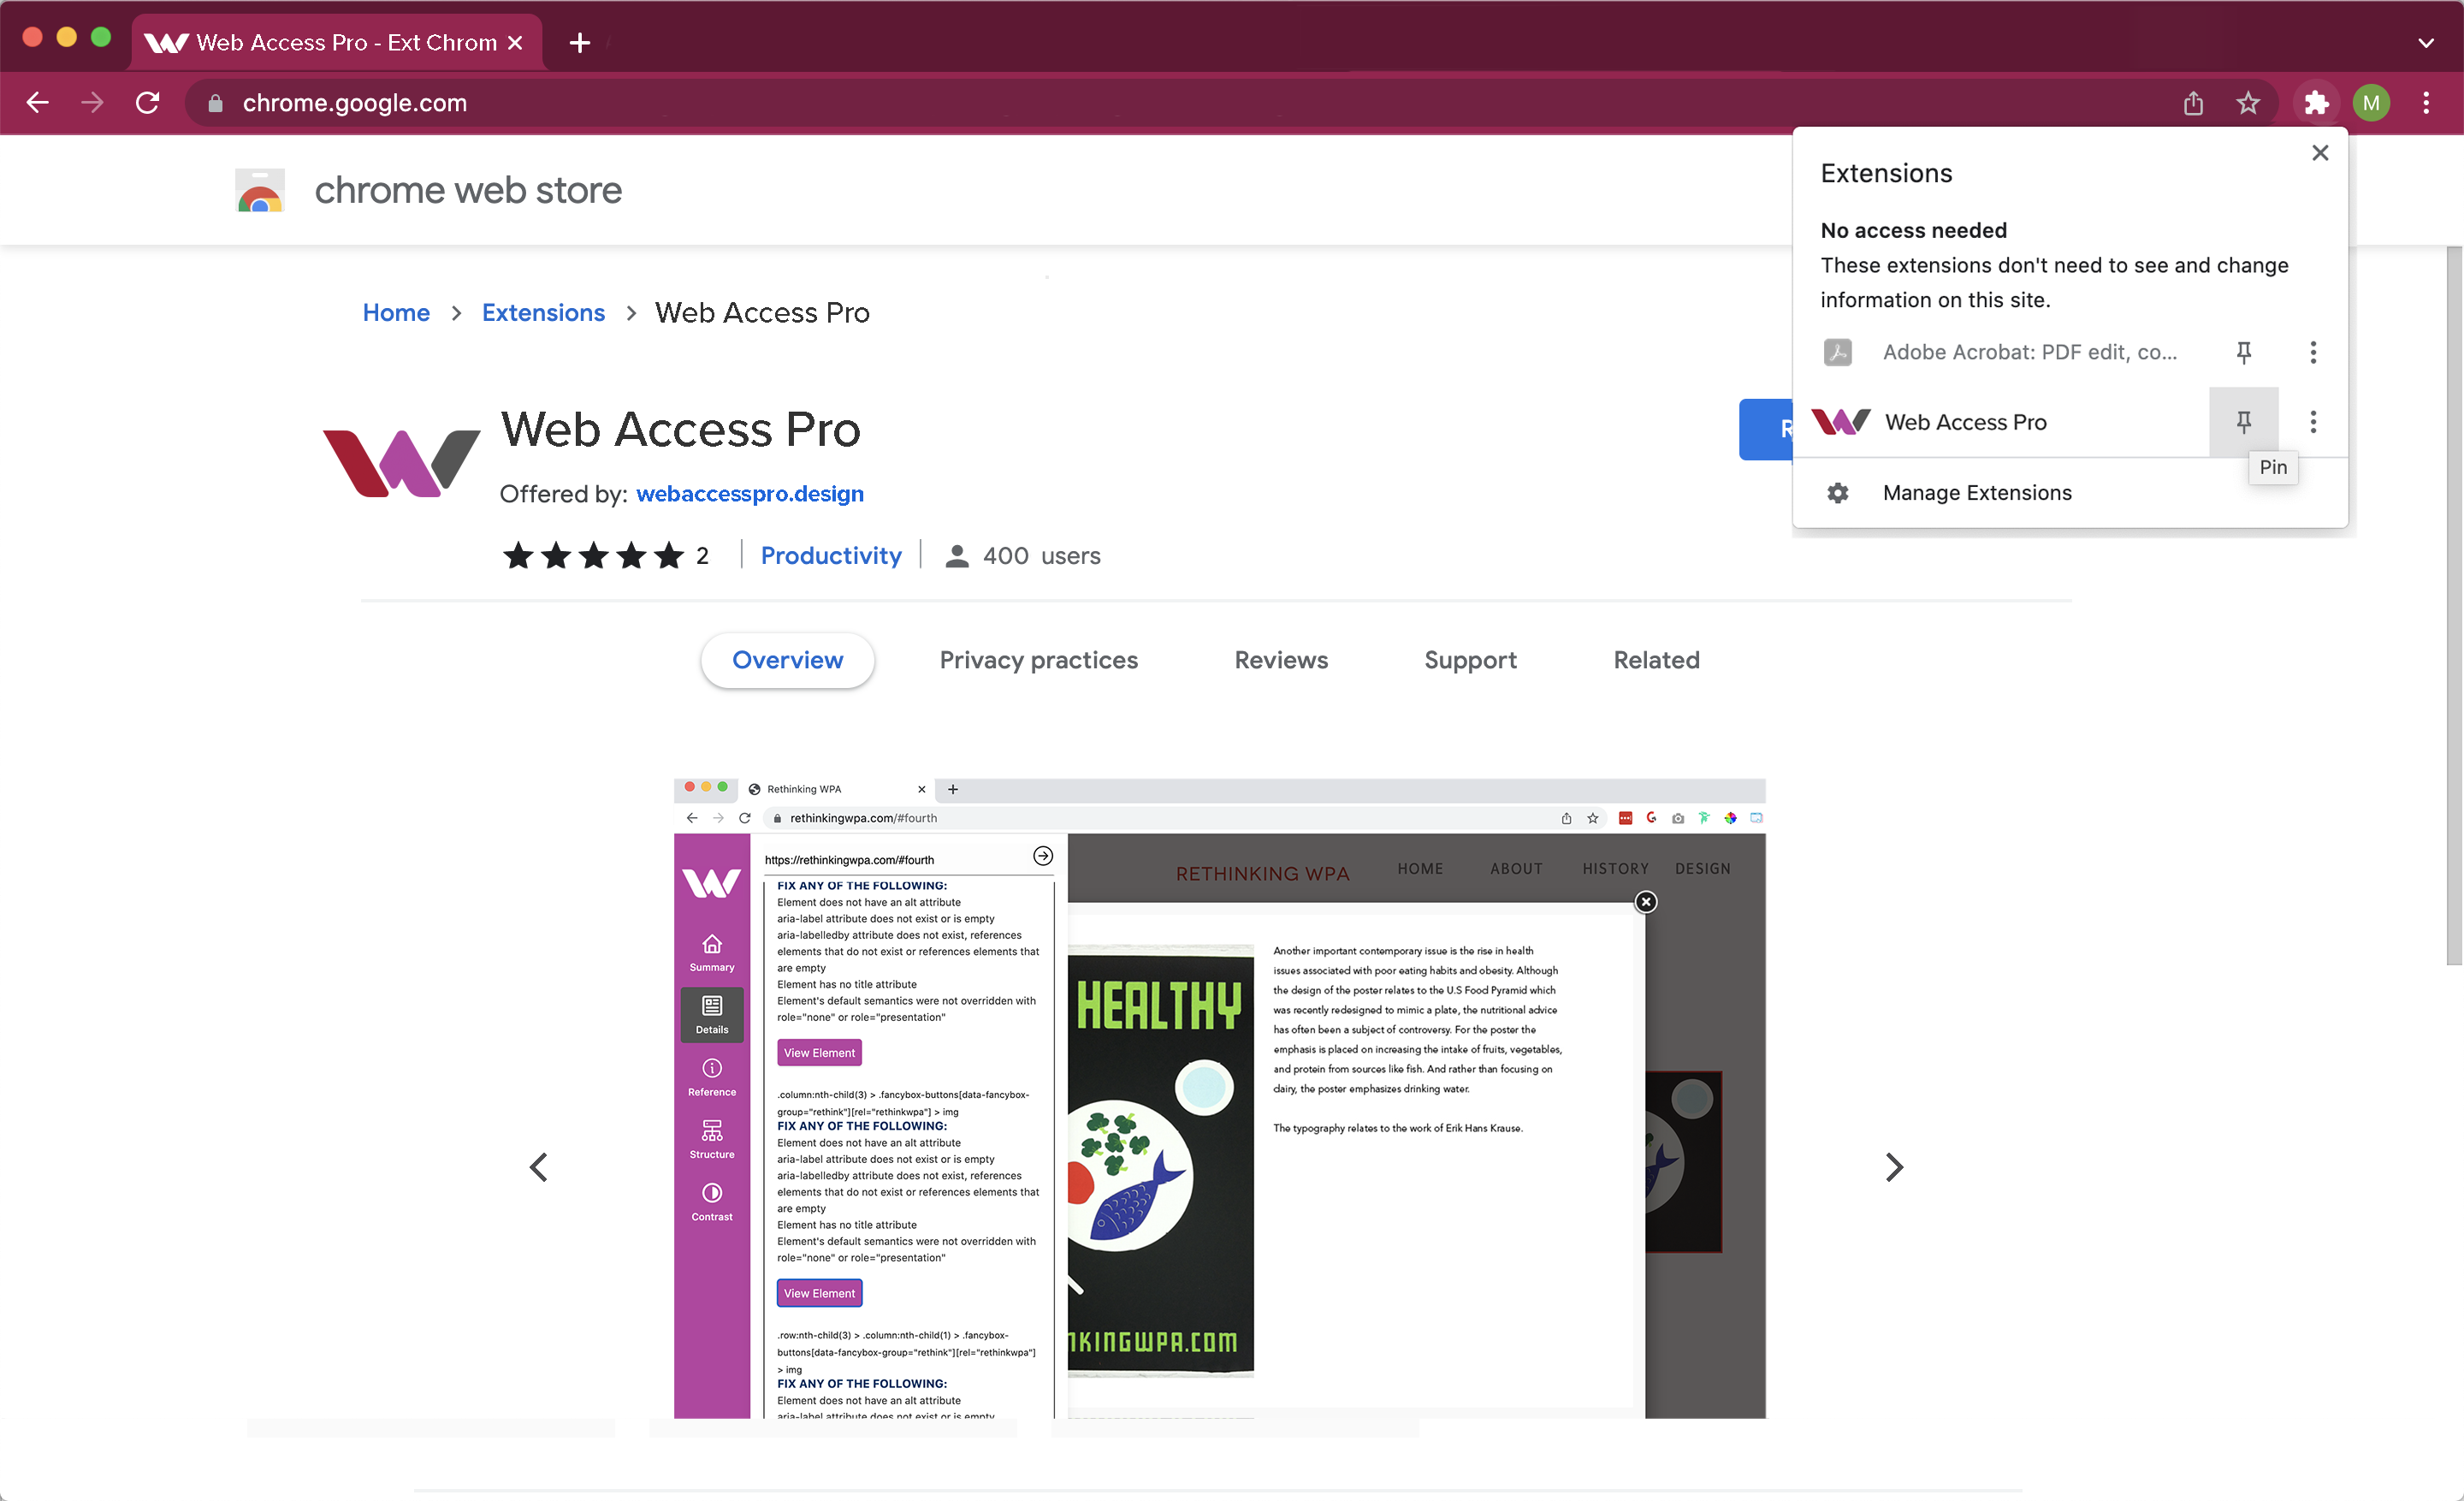
If you would like the extension to appear in the top bar, you need to click the puzzle piece icon that represents the extensions. There will be a dropdown that shows all the extensions that you have added to Chrome. If you would like the extension to be pinned to the top bar, select the pin icon.

You will now see the Web Access Pro icon in the top bar and the pin icon will be darkened.
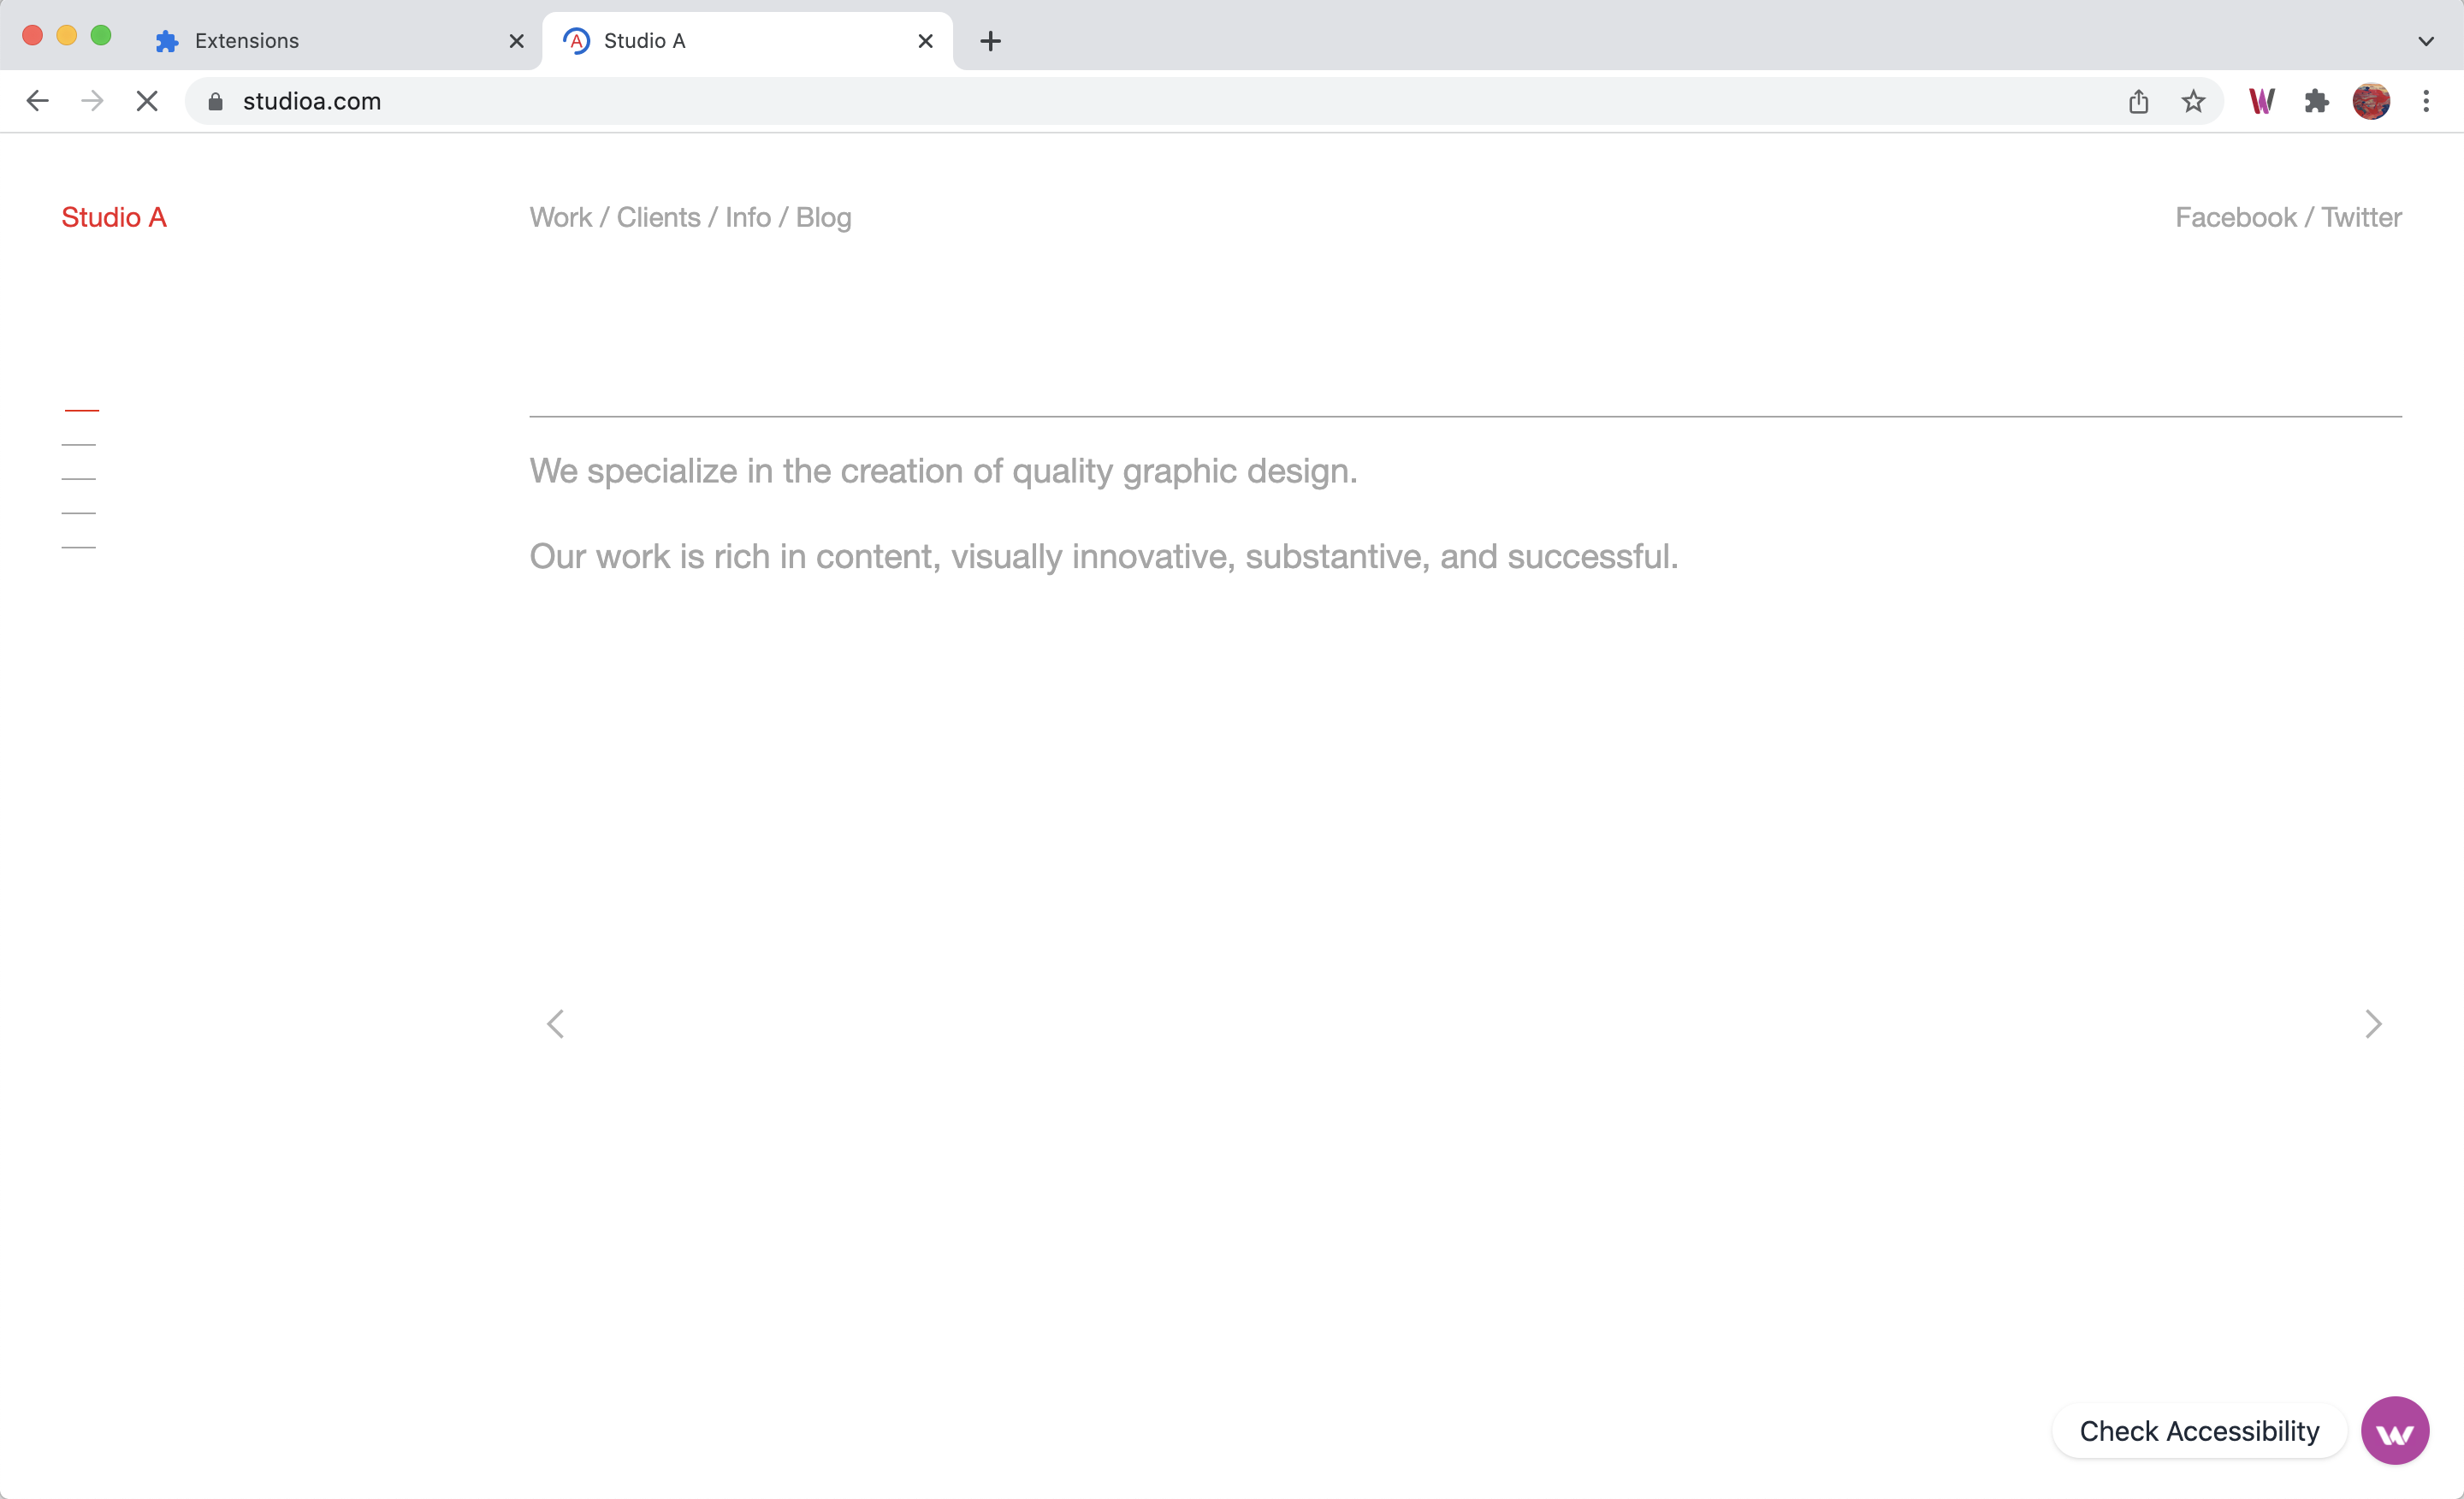
Now you see that the Web Access Pro extension is added to Chrome. You will see at the lower right the toggle. If you click on the Check Accessibility icon, a scan will be initiated.
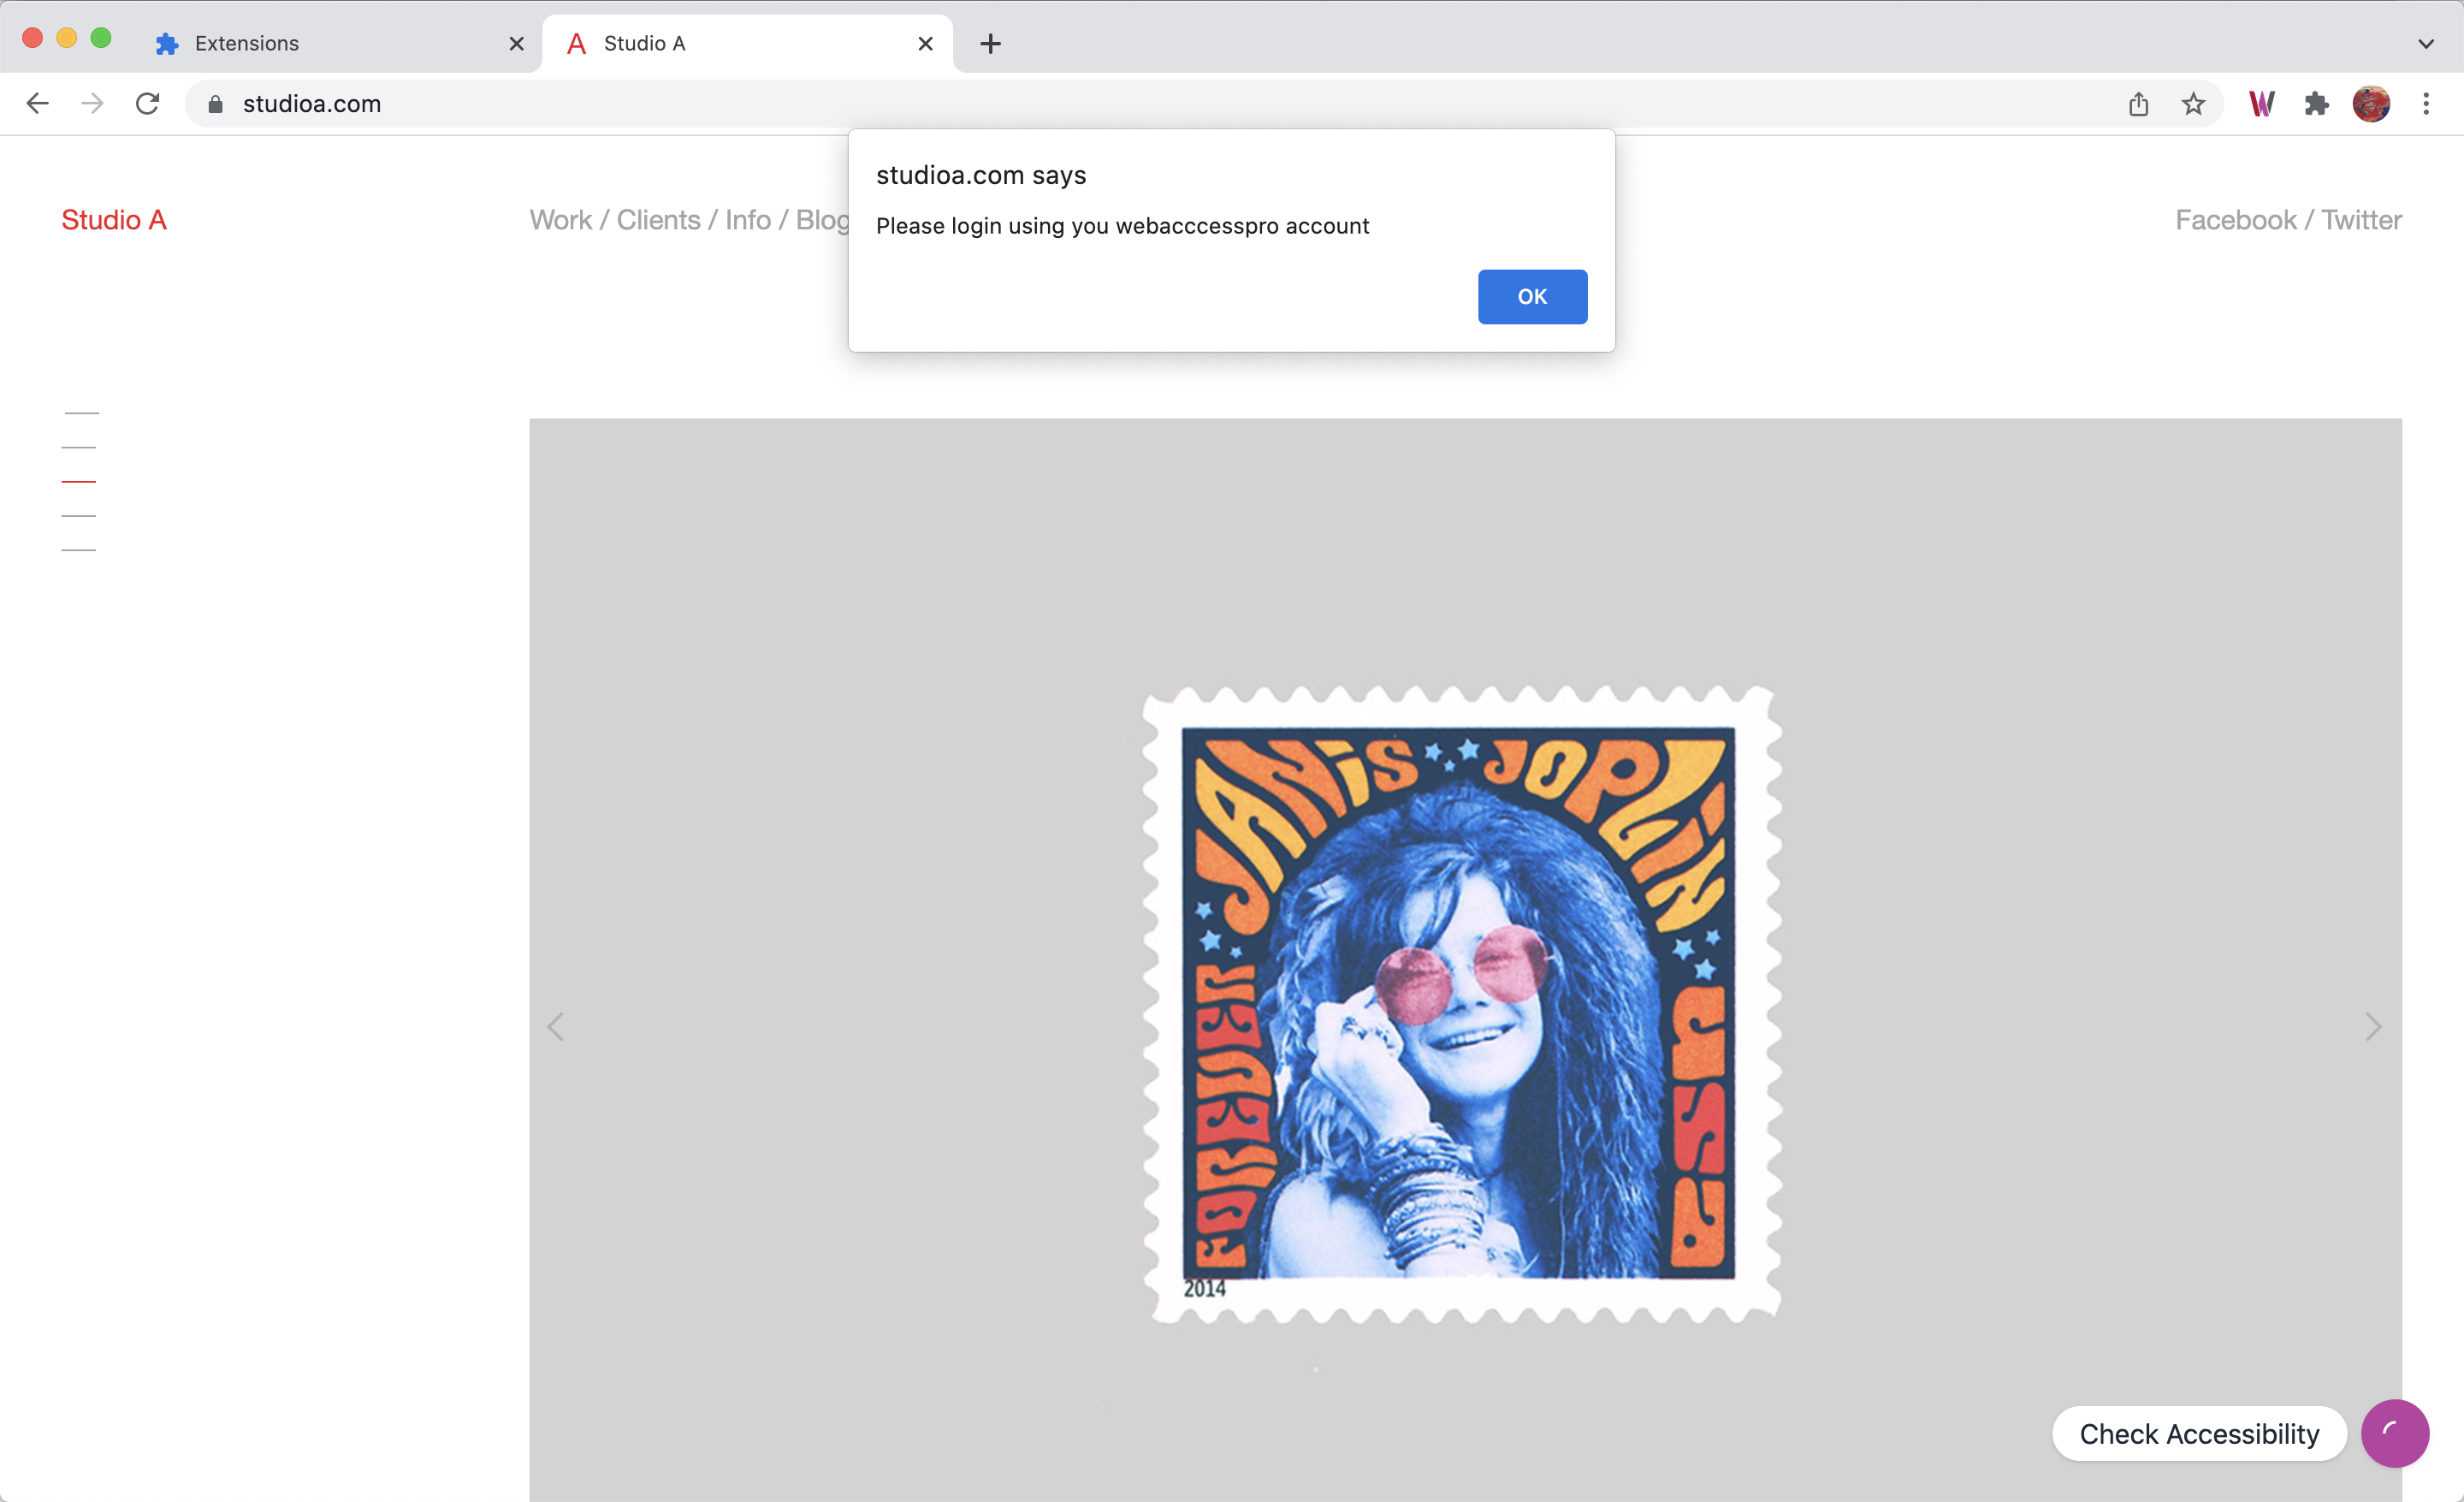
But you need to be signed in for a scan to start. So if you are not signed in, you will see this error message that tells you to login.

If you click on the Web Access Pro extension in the top bar you will see the login screen.
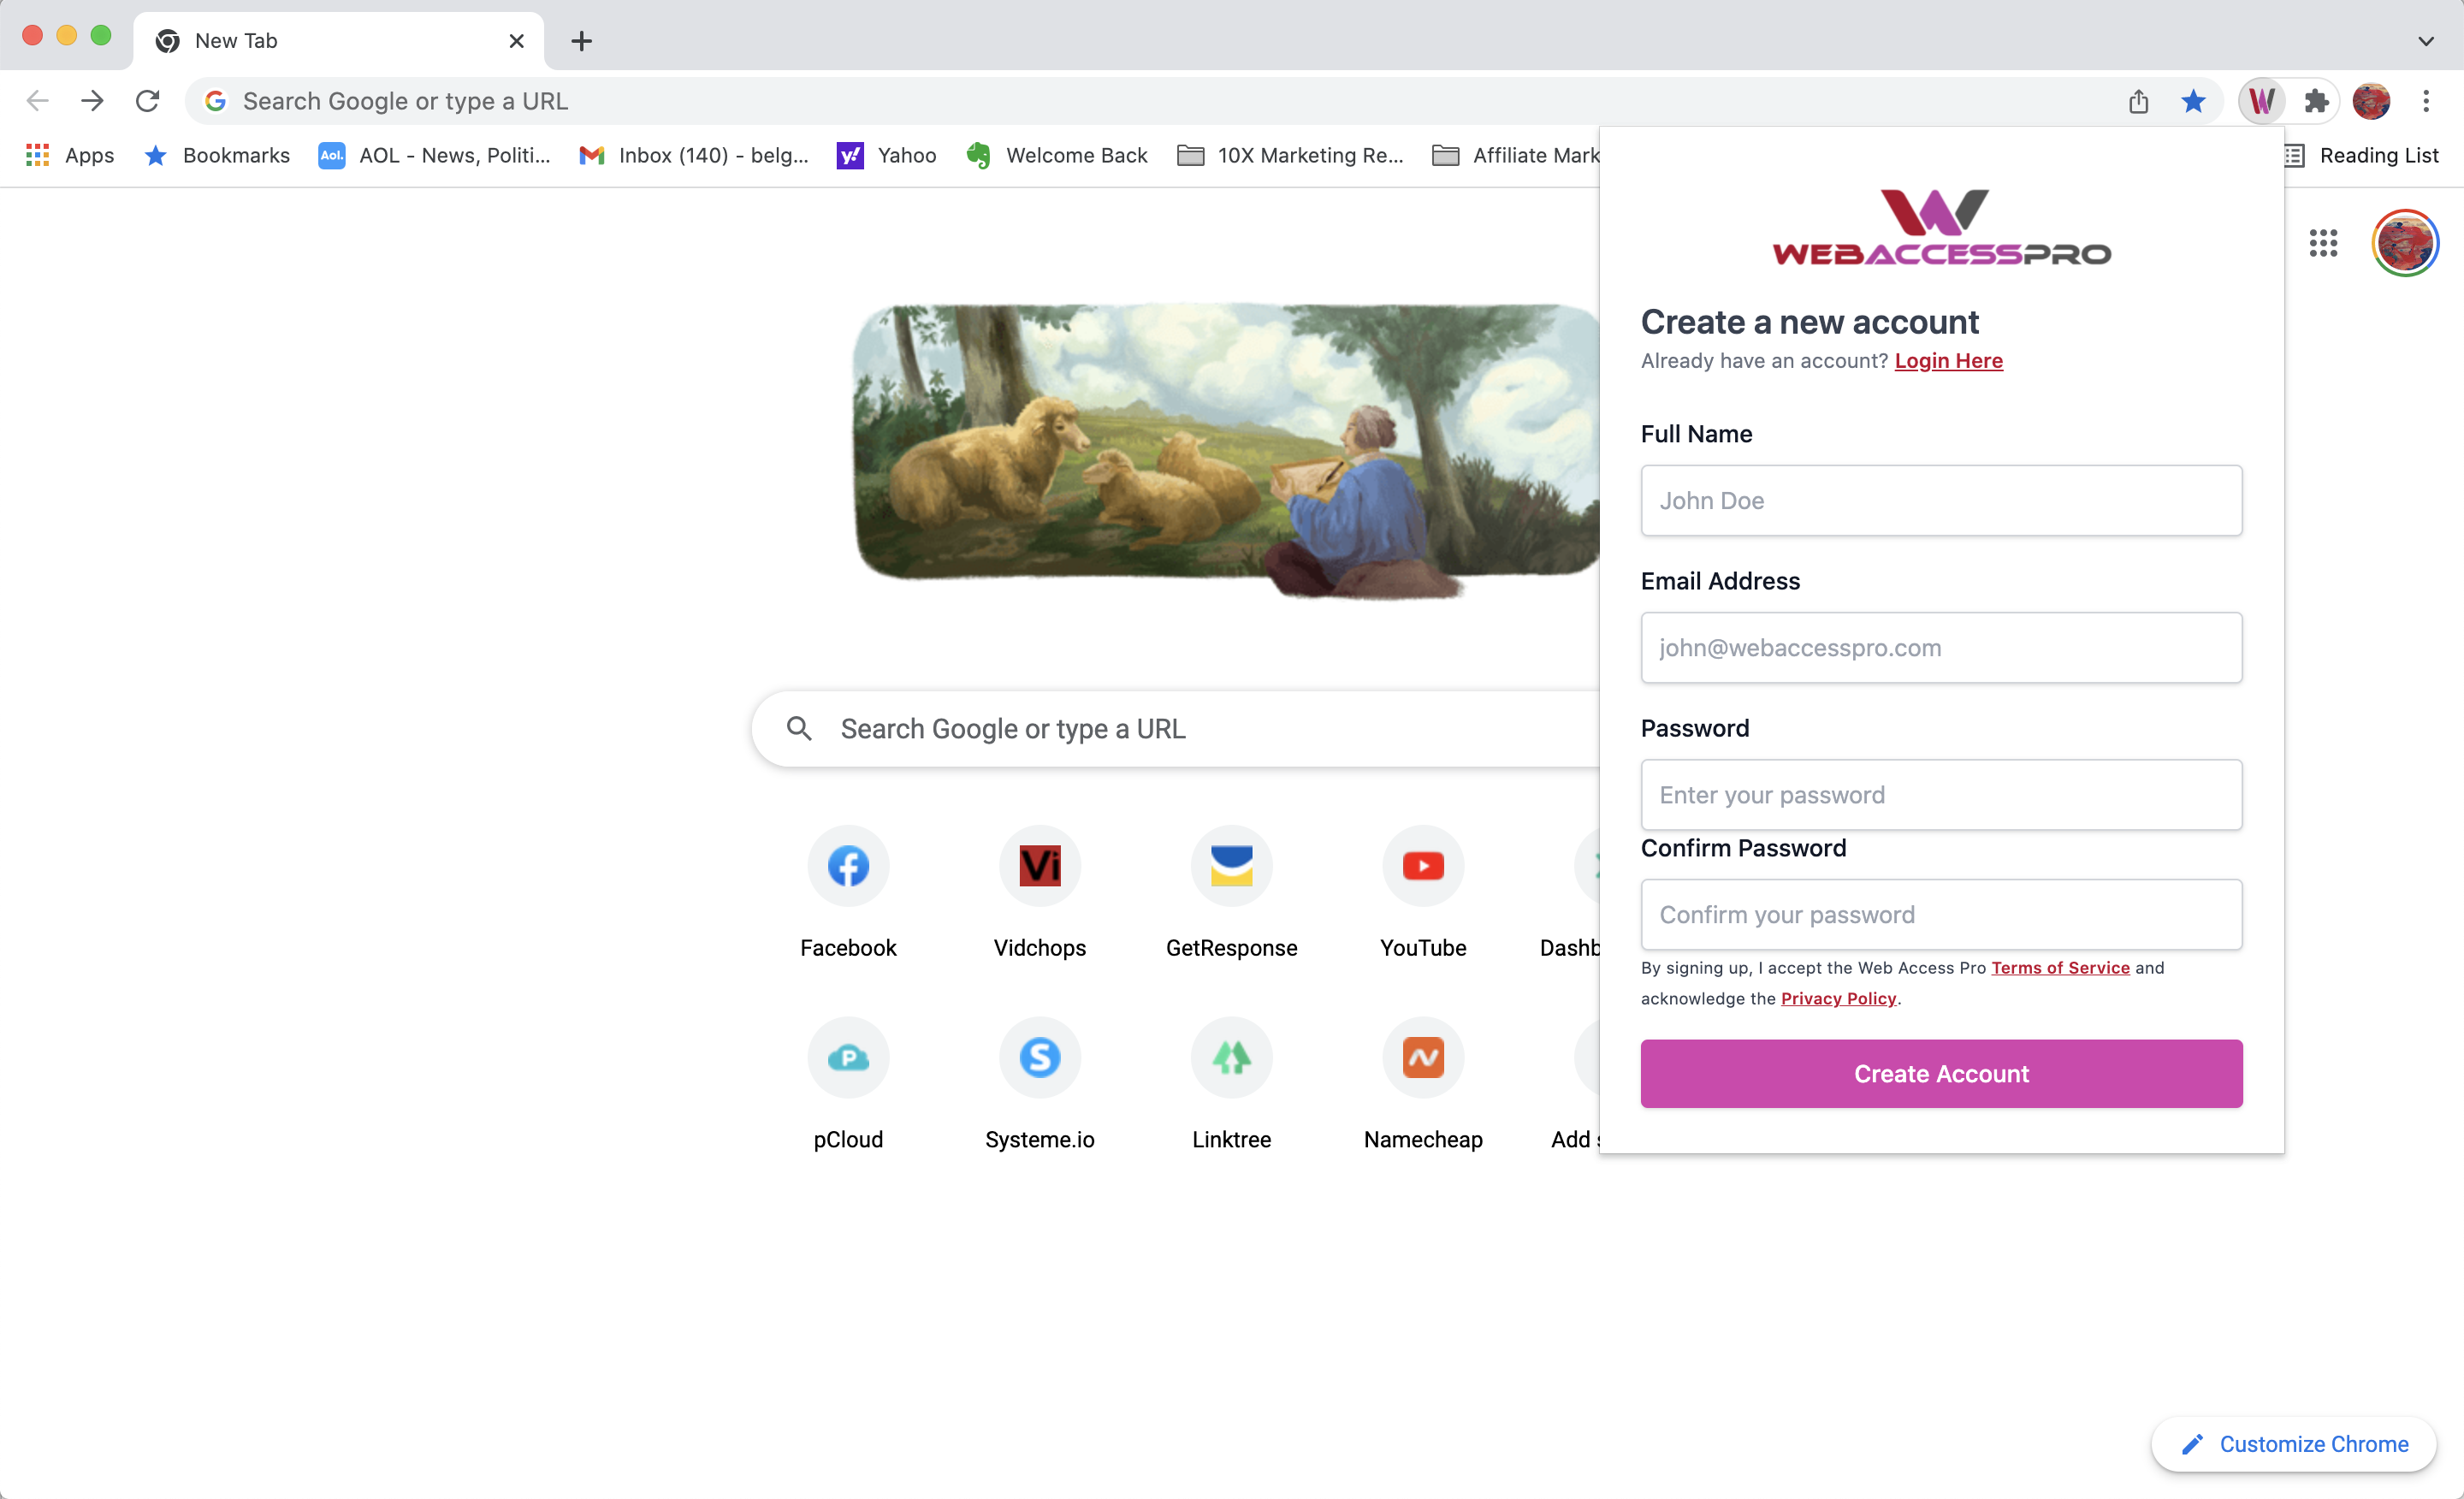
If you have a login you can go ahead and do so, but if you do not, you will have to create a new account. You would click "Create New" and this screen will appear for you to create an account with your name, email, and password.
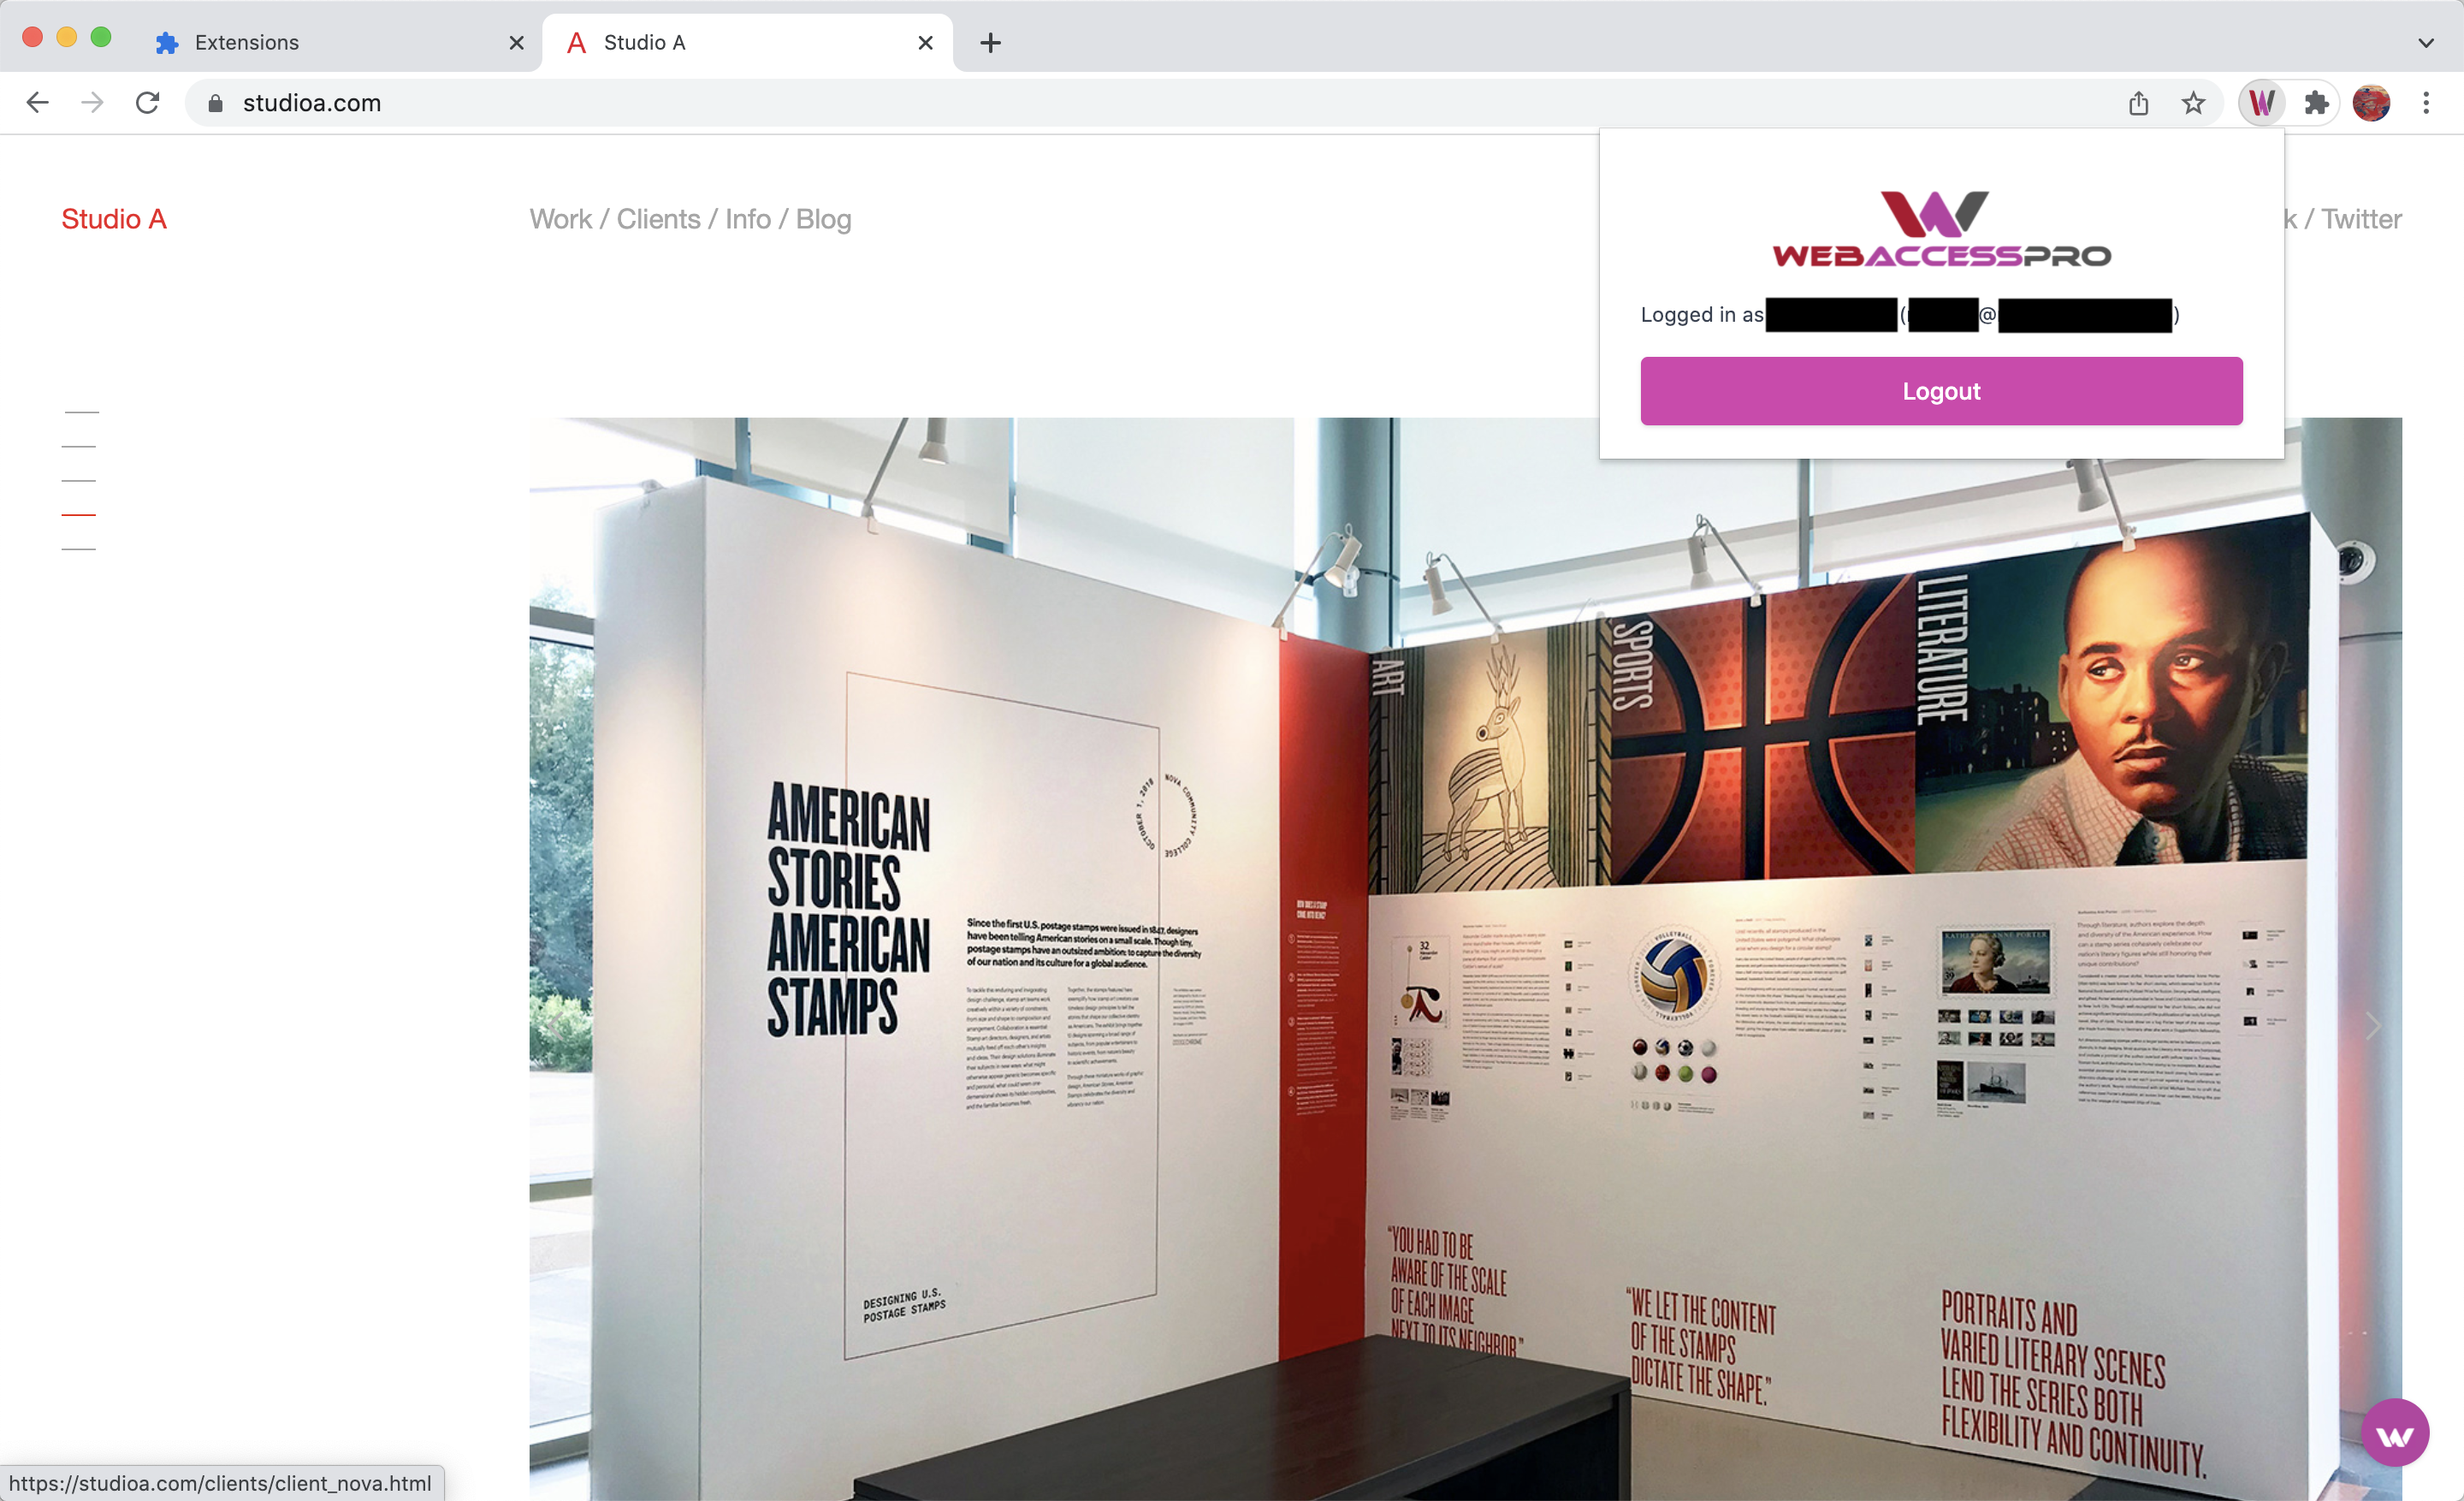
Once you are successfully logged in, you will see this popup which gives you the option to logout.
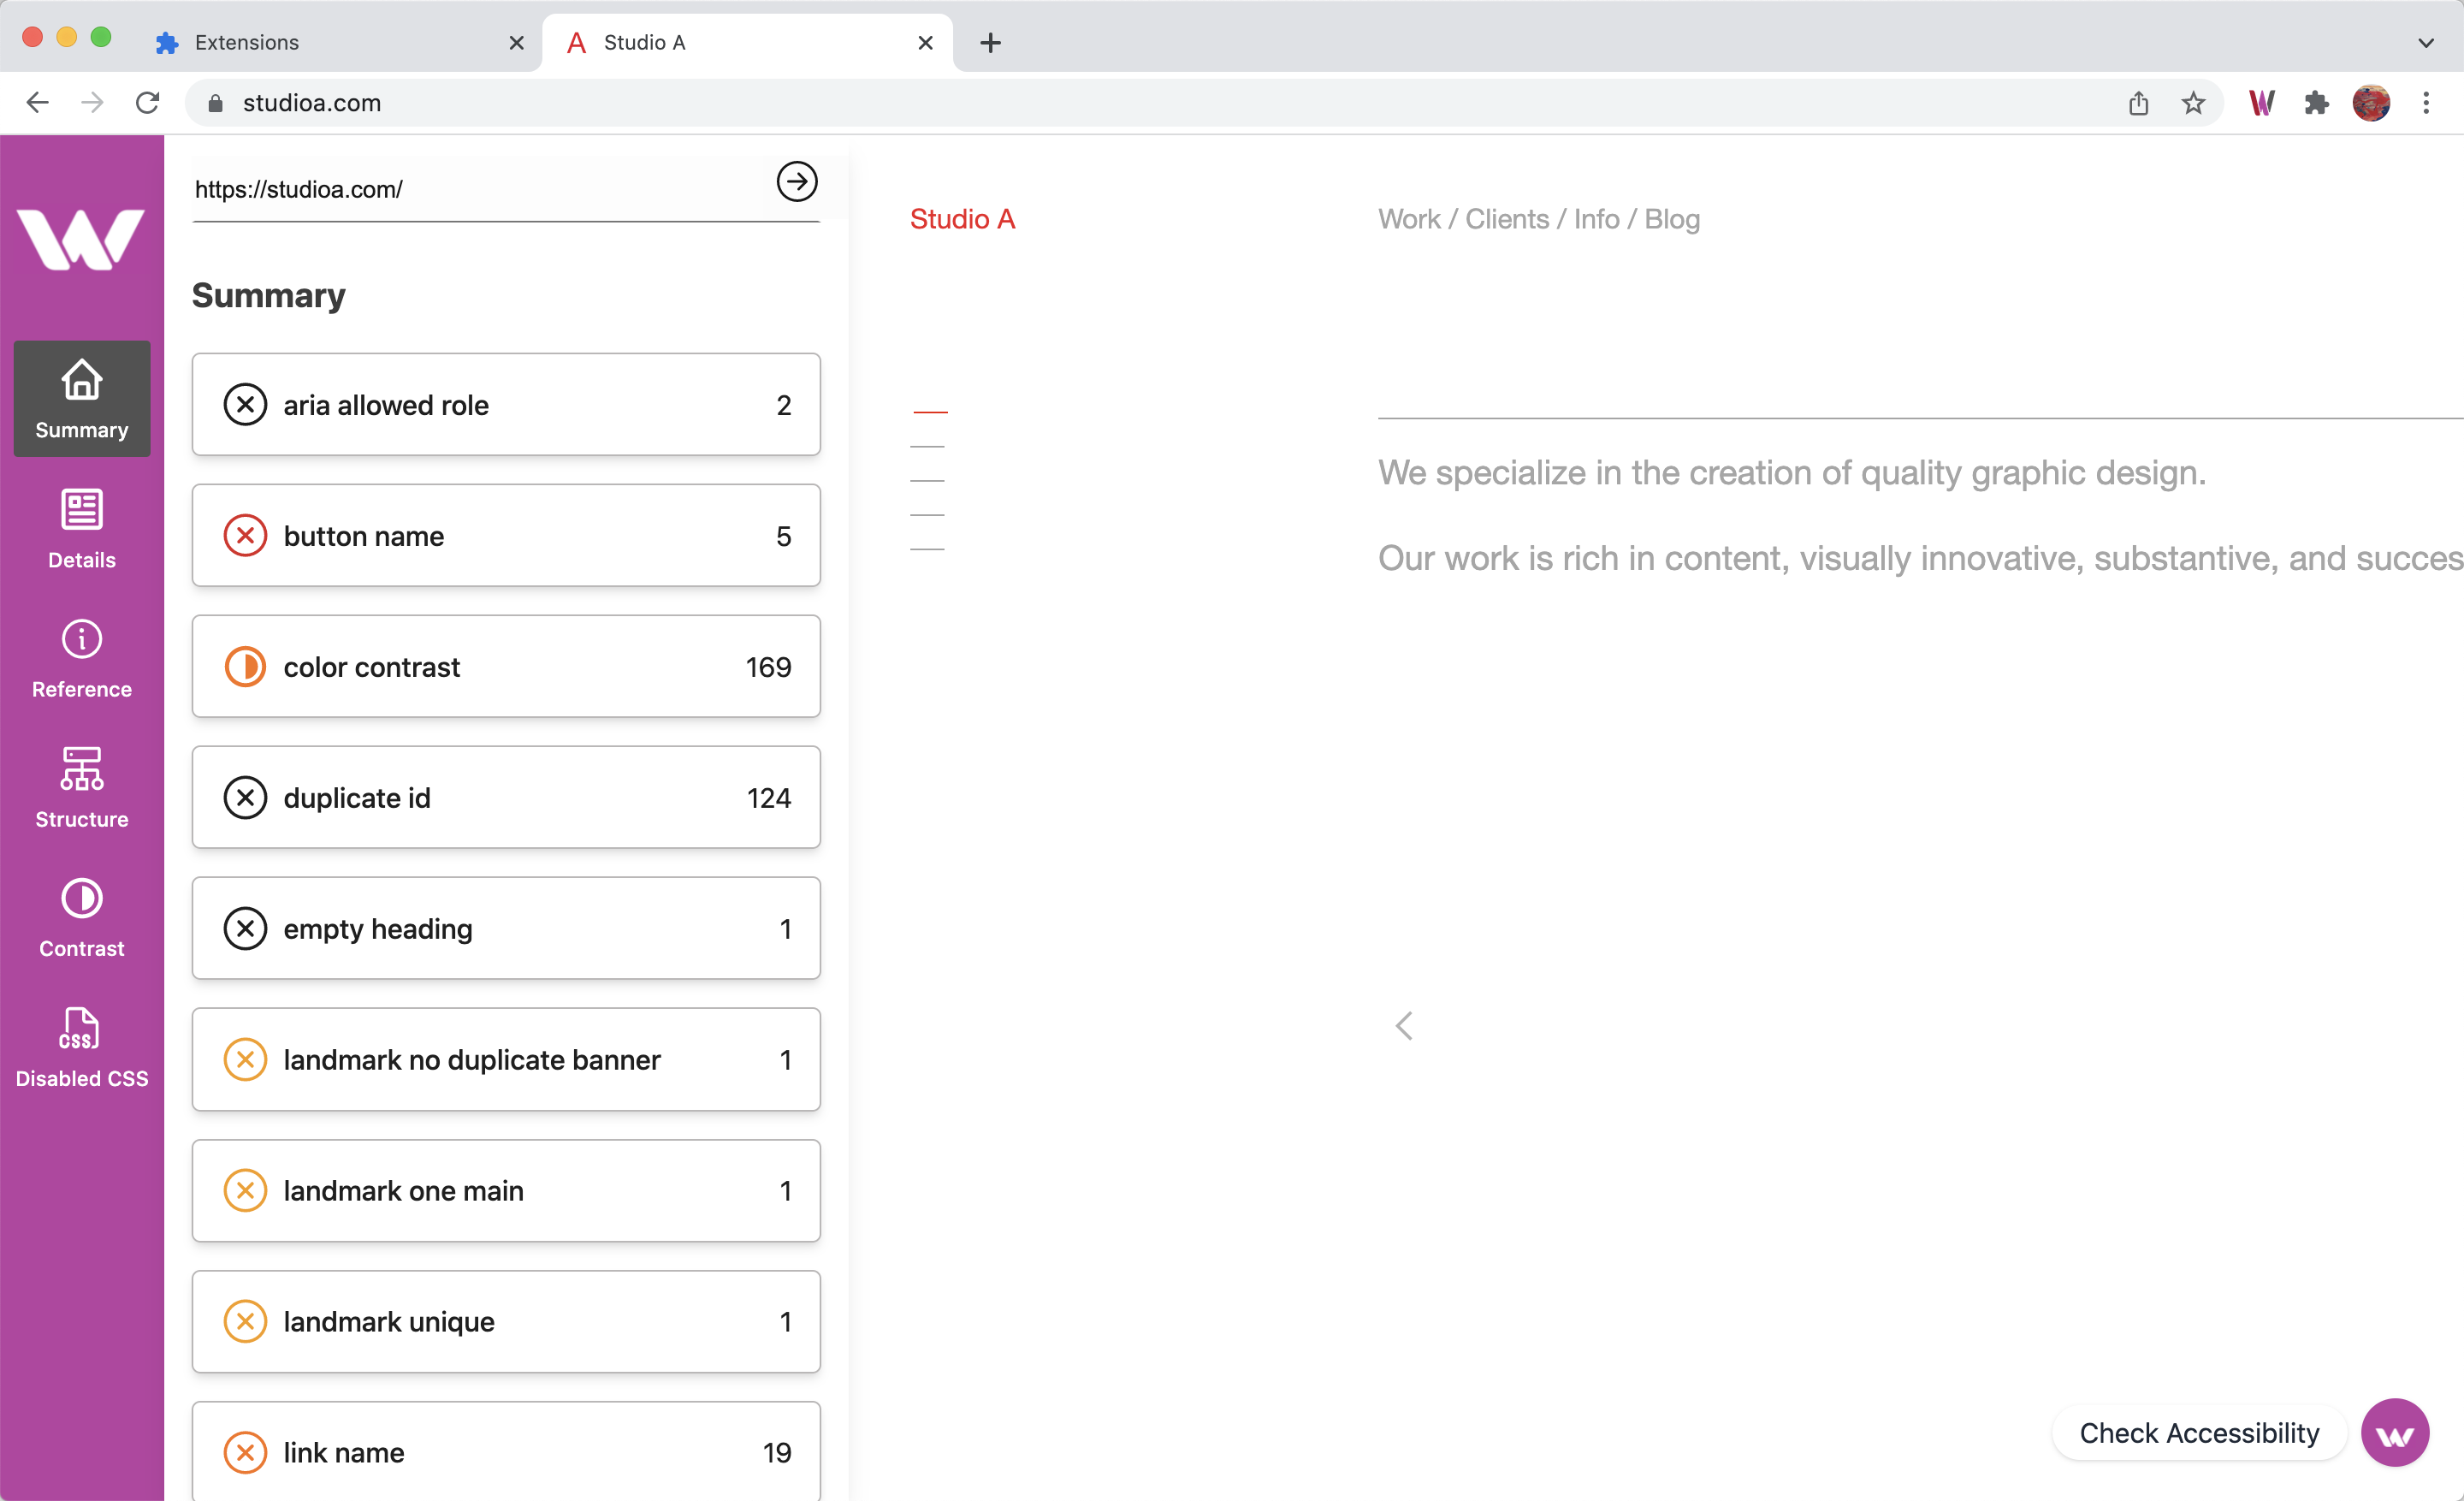
Now you are logged in, you can initiate a scan by hitting the toggle at the lower right. And you will see that the summary view pops up to show you the accessibility errors on the website.
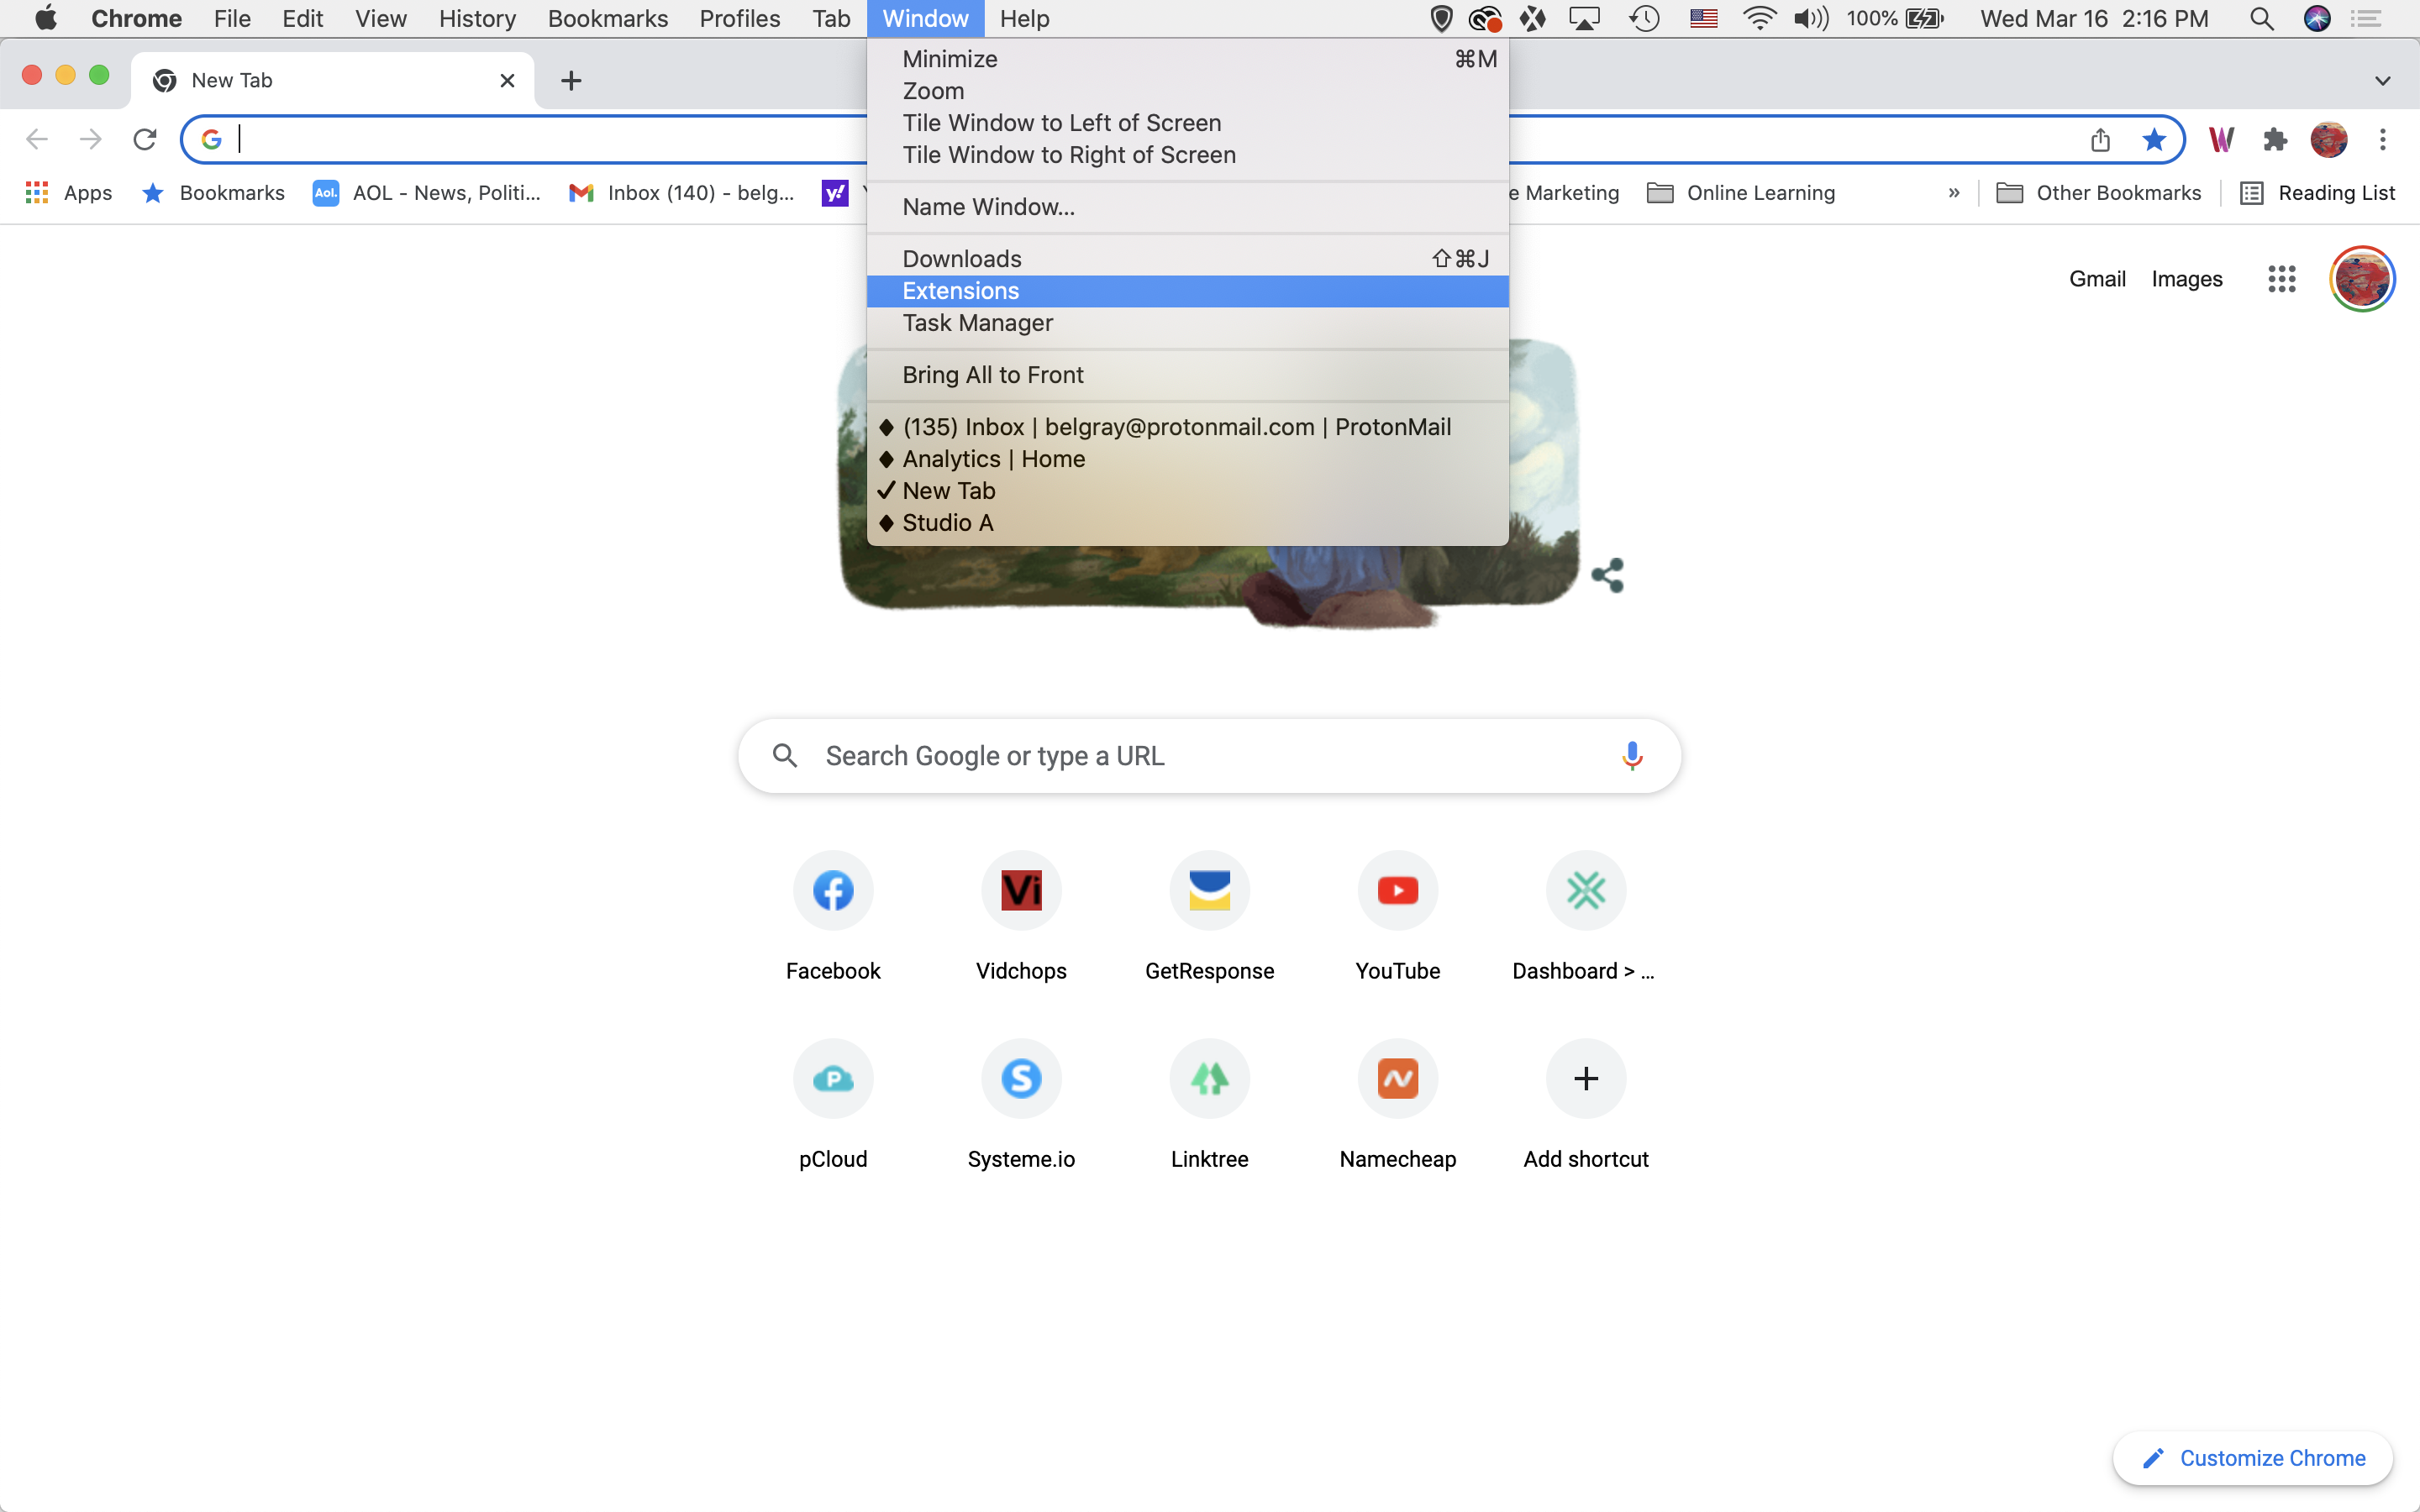
Sometimes you would want to turn off the extension but keep it installed. In this case you need to go to "Window" and then "Extensions" to be able to manage all your installed extensions.
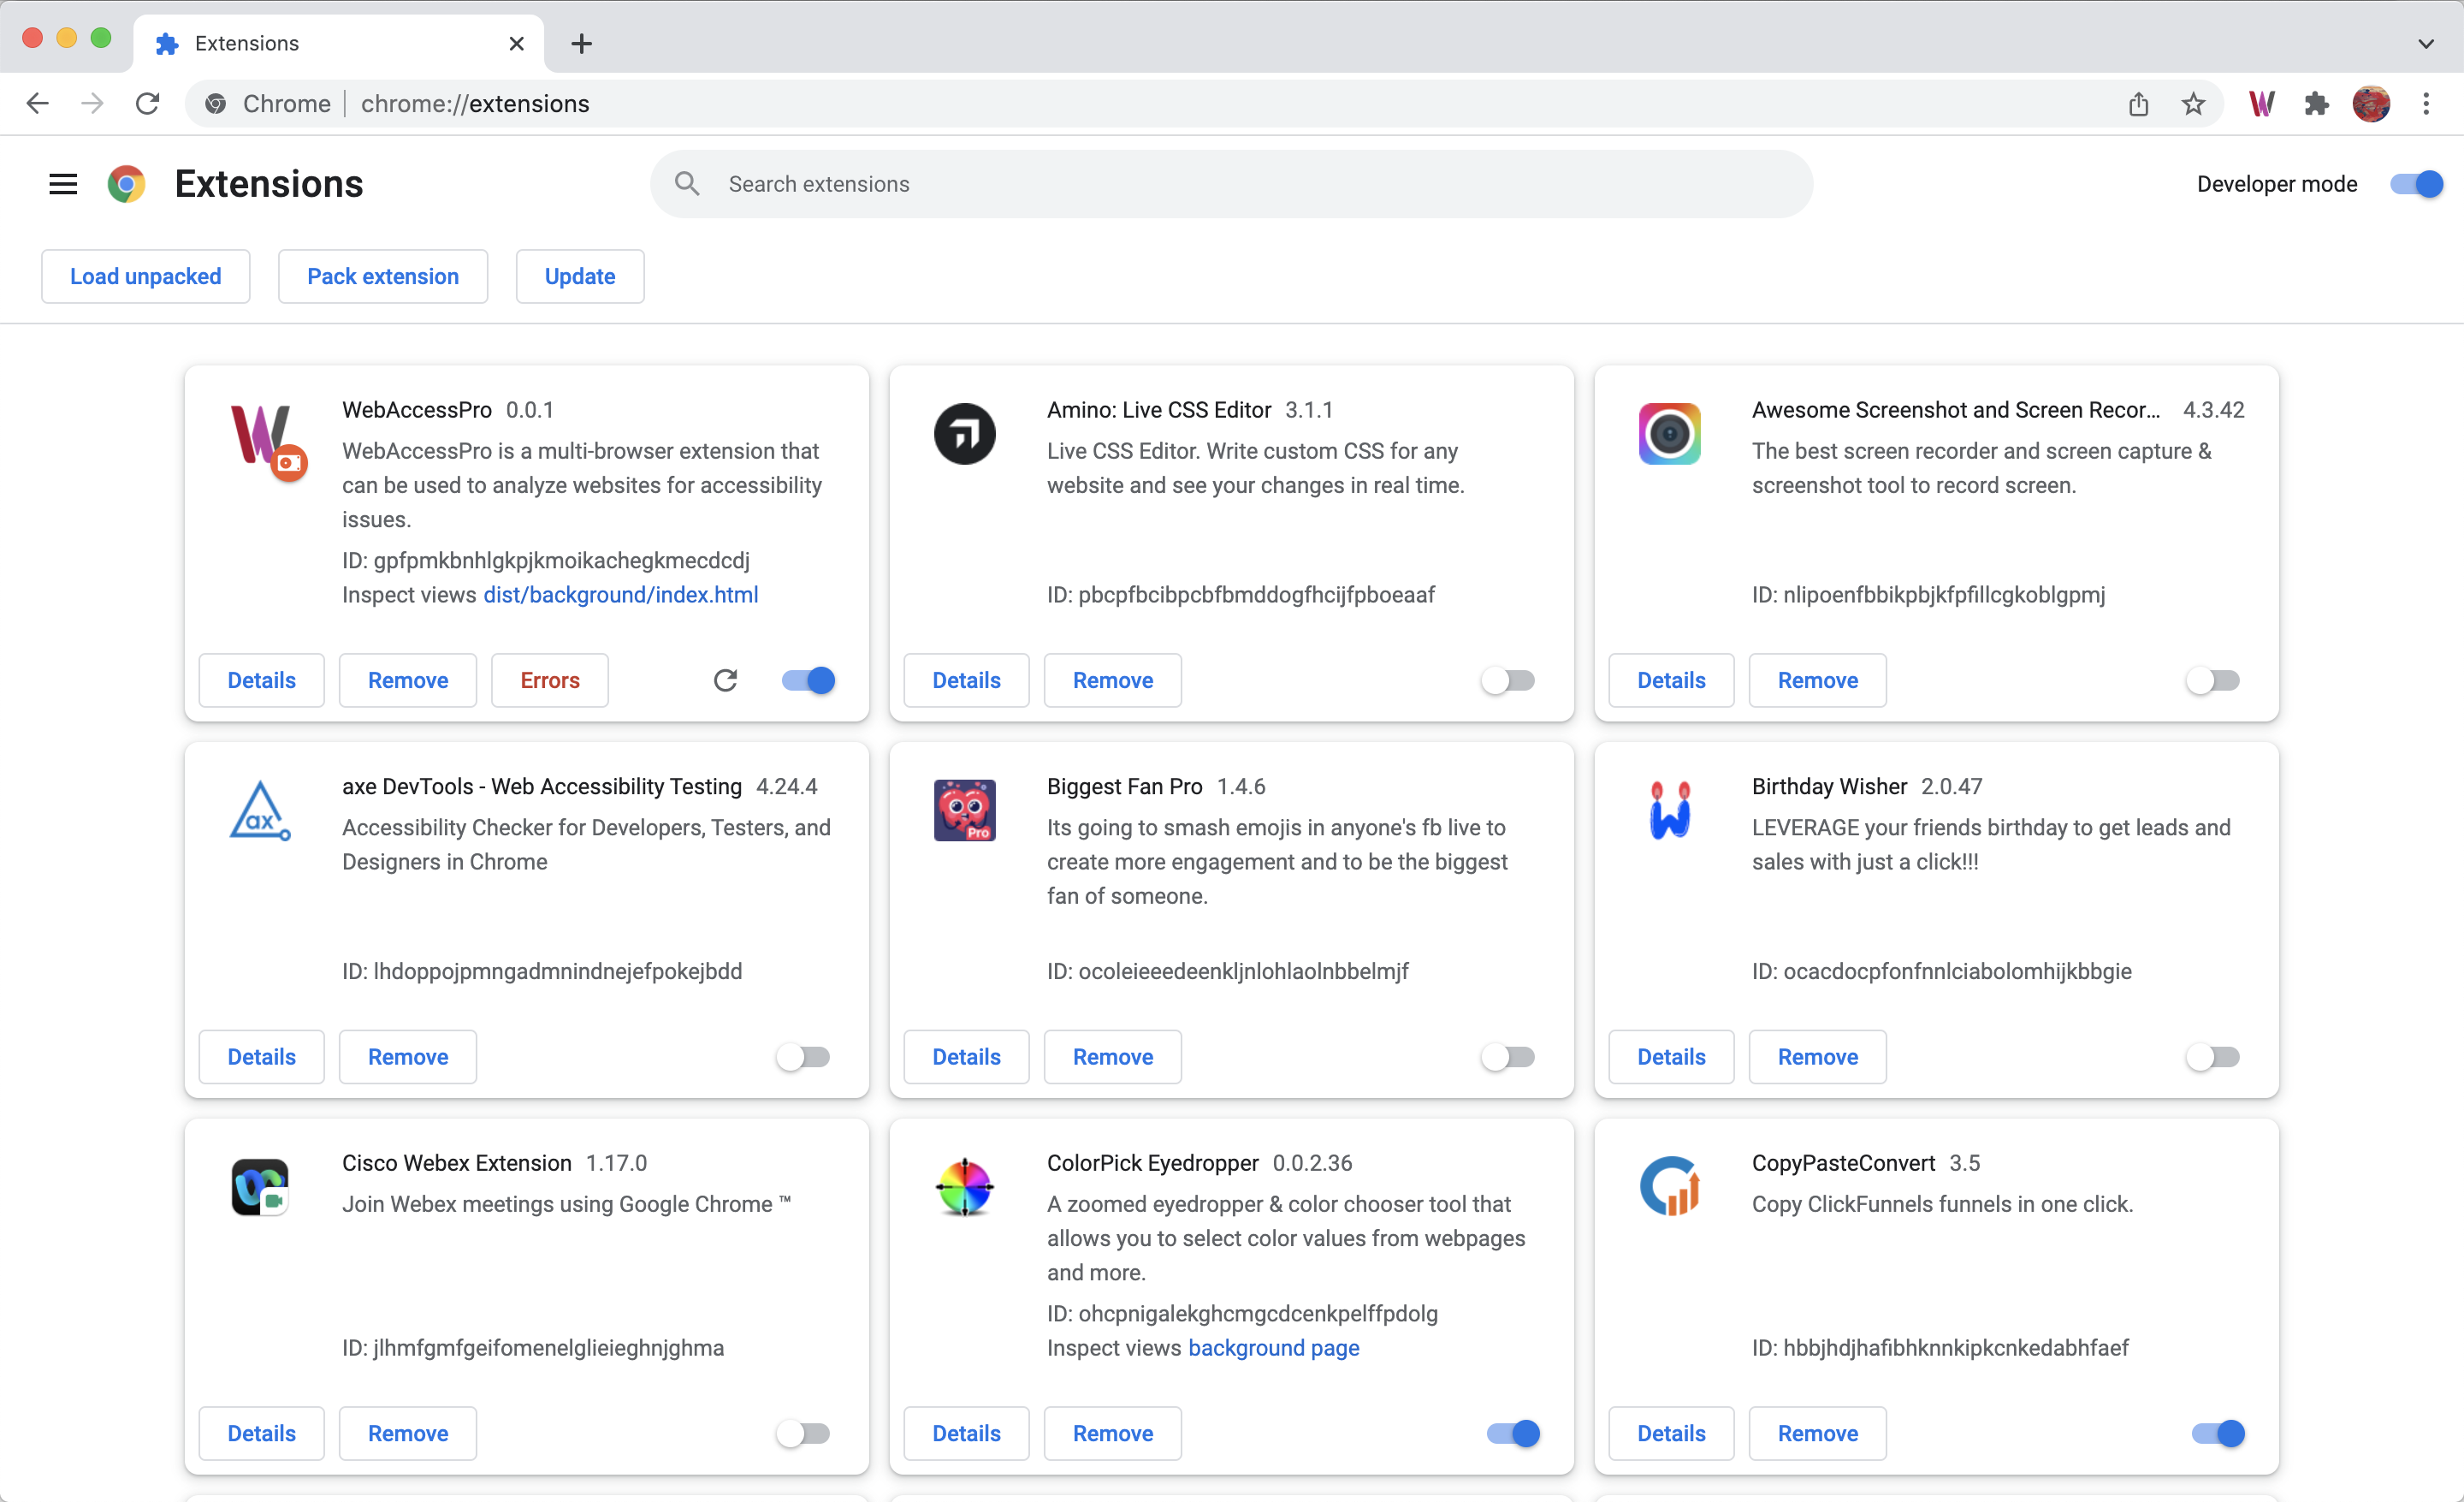
When the extensions page opens up, you will see all your installed extensions. There is a switch at the lower right of every extension. If to the right and blue, it is turned on. Simply click on this to turn it off (to the left and greyed out). So you can turn off the extension, but it will remain installed.